How to Set Up In-App Integration with Moloco
Moloco is an advertising platform focused on in-app promotion. It enables advertisers to launch CPM-based campaigns and leverages machine learning algorithms to automate and optimize ad delivery. To get started with Moloco and properly transmit events to ZM apps, you will need to complete the integration process.
Part 1: Integration with ZM apps
1. Set Up a Tracker Campaign and Postbacks
-
Your campaign or traffic source must pass the
exidvalue through a sub-parameter, for example:sub1={exid} -
The same parameter should also be used in postbacks, allowing us to associate an install with a specific user:
Postbacks:
-
Registration:
https://tools.zm.app/pb/?exid={sub1}&action=reg -
Deposit:
https://tools.zm.app/pb/?exid={sub1}&action=dep
-
sub1 is used here only as an example.
In your tracker, the parameter that passes exid may have a different name — for example, click_id, token, cid, and so on.
The key point is that the parameter name in the campaign and in the postbacks must match.
More details about tracker integration can be found here
2. Generate Naming
- Navigate to the Naming section in the ZM apps menu.
- Add your tracker link and click Create Naming.
- It only takes a few seconds – the system will automatically link the URL to your account and generate the required format.
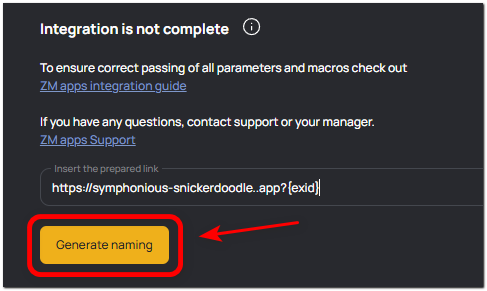
Learn more about naming generation in our step-by-step guide
3. Select Your App and Copy the Store URL
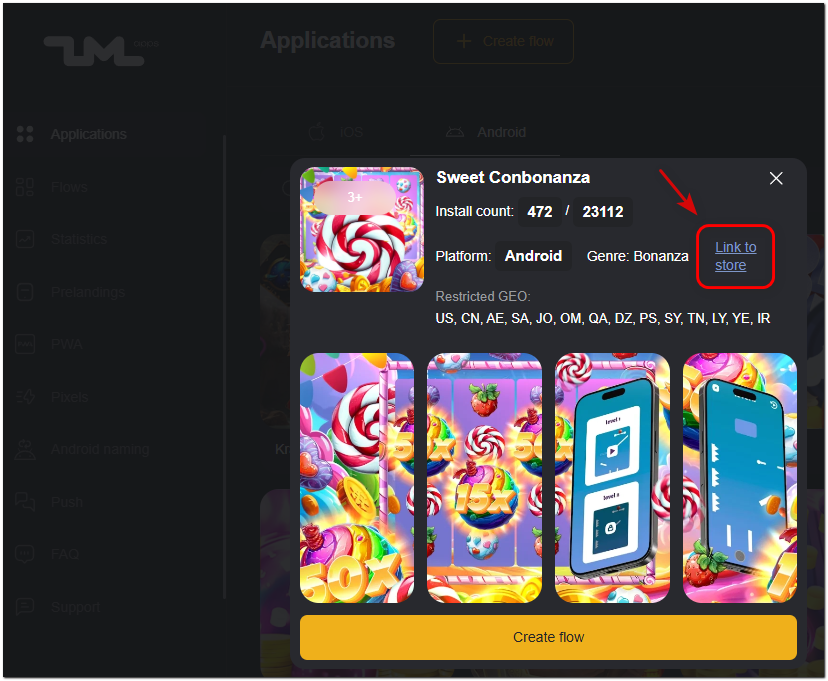
4. Share the Data with ZM apps Support
Please send us the following information:
- Naming in the format
rent://... - Your app along with its store URL
- The name of the integrated service – Moloco
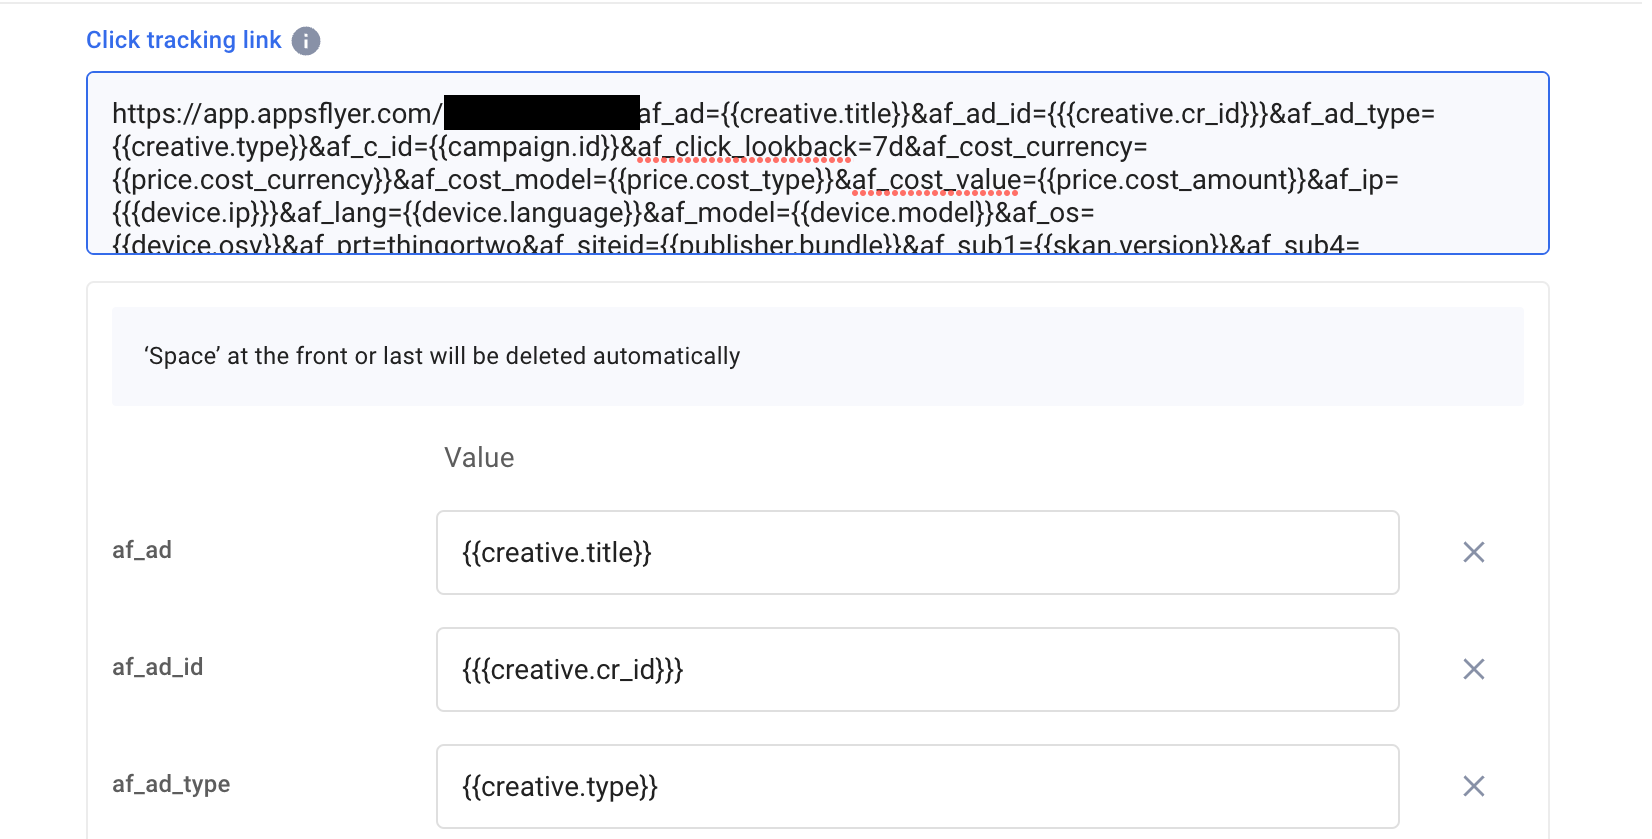
You will receive two links – Click Tracking Link and View Tracking Link – both containing your naming in the "C" sub-parameter. You will need to add both links to Moloco.
Part 2: Setting Up Moloco
1. Add Your App in Moloco
- Go to Overview → Apps → Create
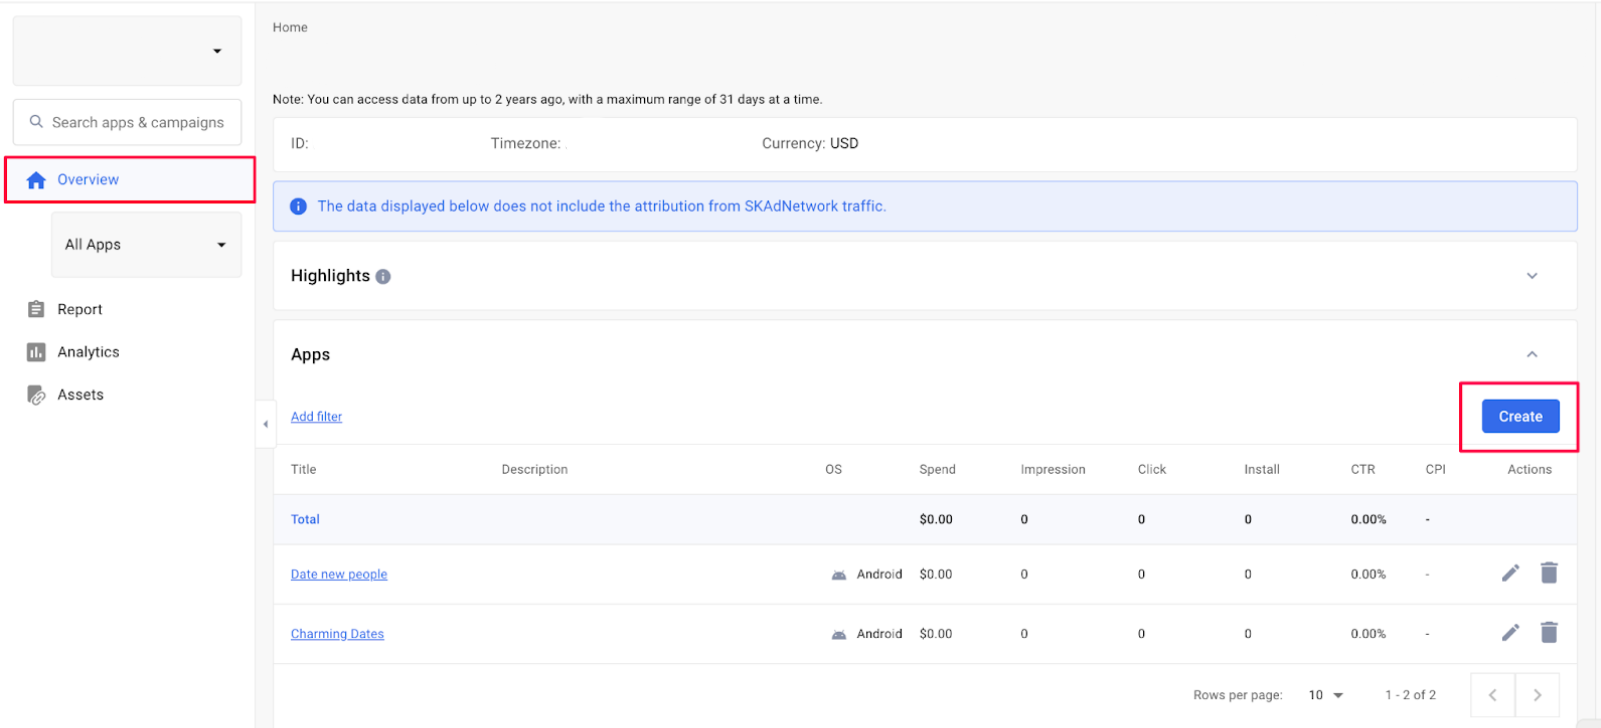
- In the window that appears, provide the following:
- MMP Tracker: Appsflyer
- Platform
- Store URL or Bundle ID: the string after
id=in the app’s store URL.
When copying an app link from the store, you must include the full URL, including all parameters at the end ("the tail").
For example:
https://apps.apple.com/app/id1234567890?platform=iphone&ppid=abcd1234
If you copy only id1234567890, the app will not be recognized.
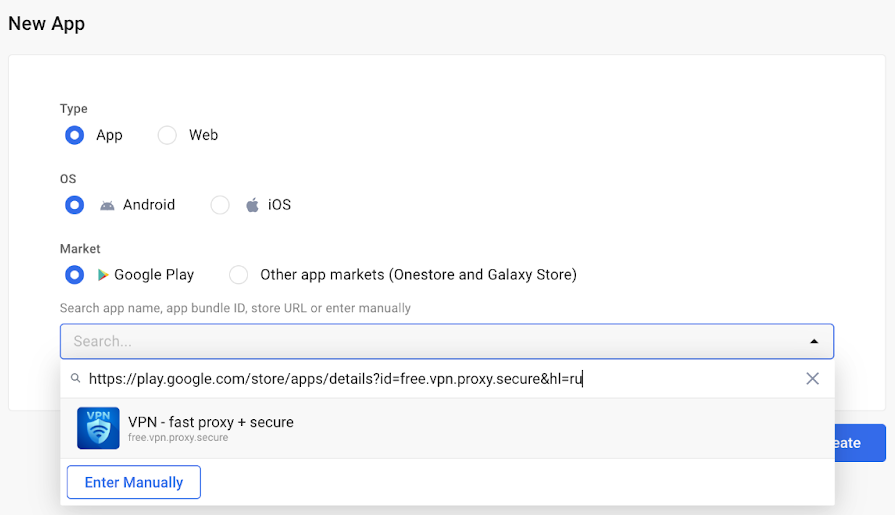
- Wait for the app to be added. Possible status values include:
- Under Review – The app is still being reviewed. Moloco’s moderation timeline may vary, but apps submitted through agency accounts are typically reviewed faster. This process can take up to 24 hours.
- Active – The app has been approved and is now active.
- Rejected – The app was rejected. Hover over the status to view the reason. If you would like to request another review, please contact your Moloco representative.
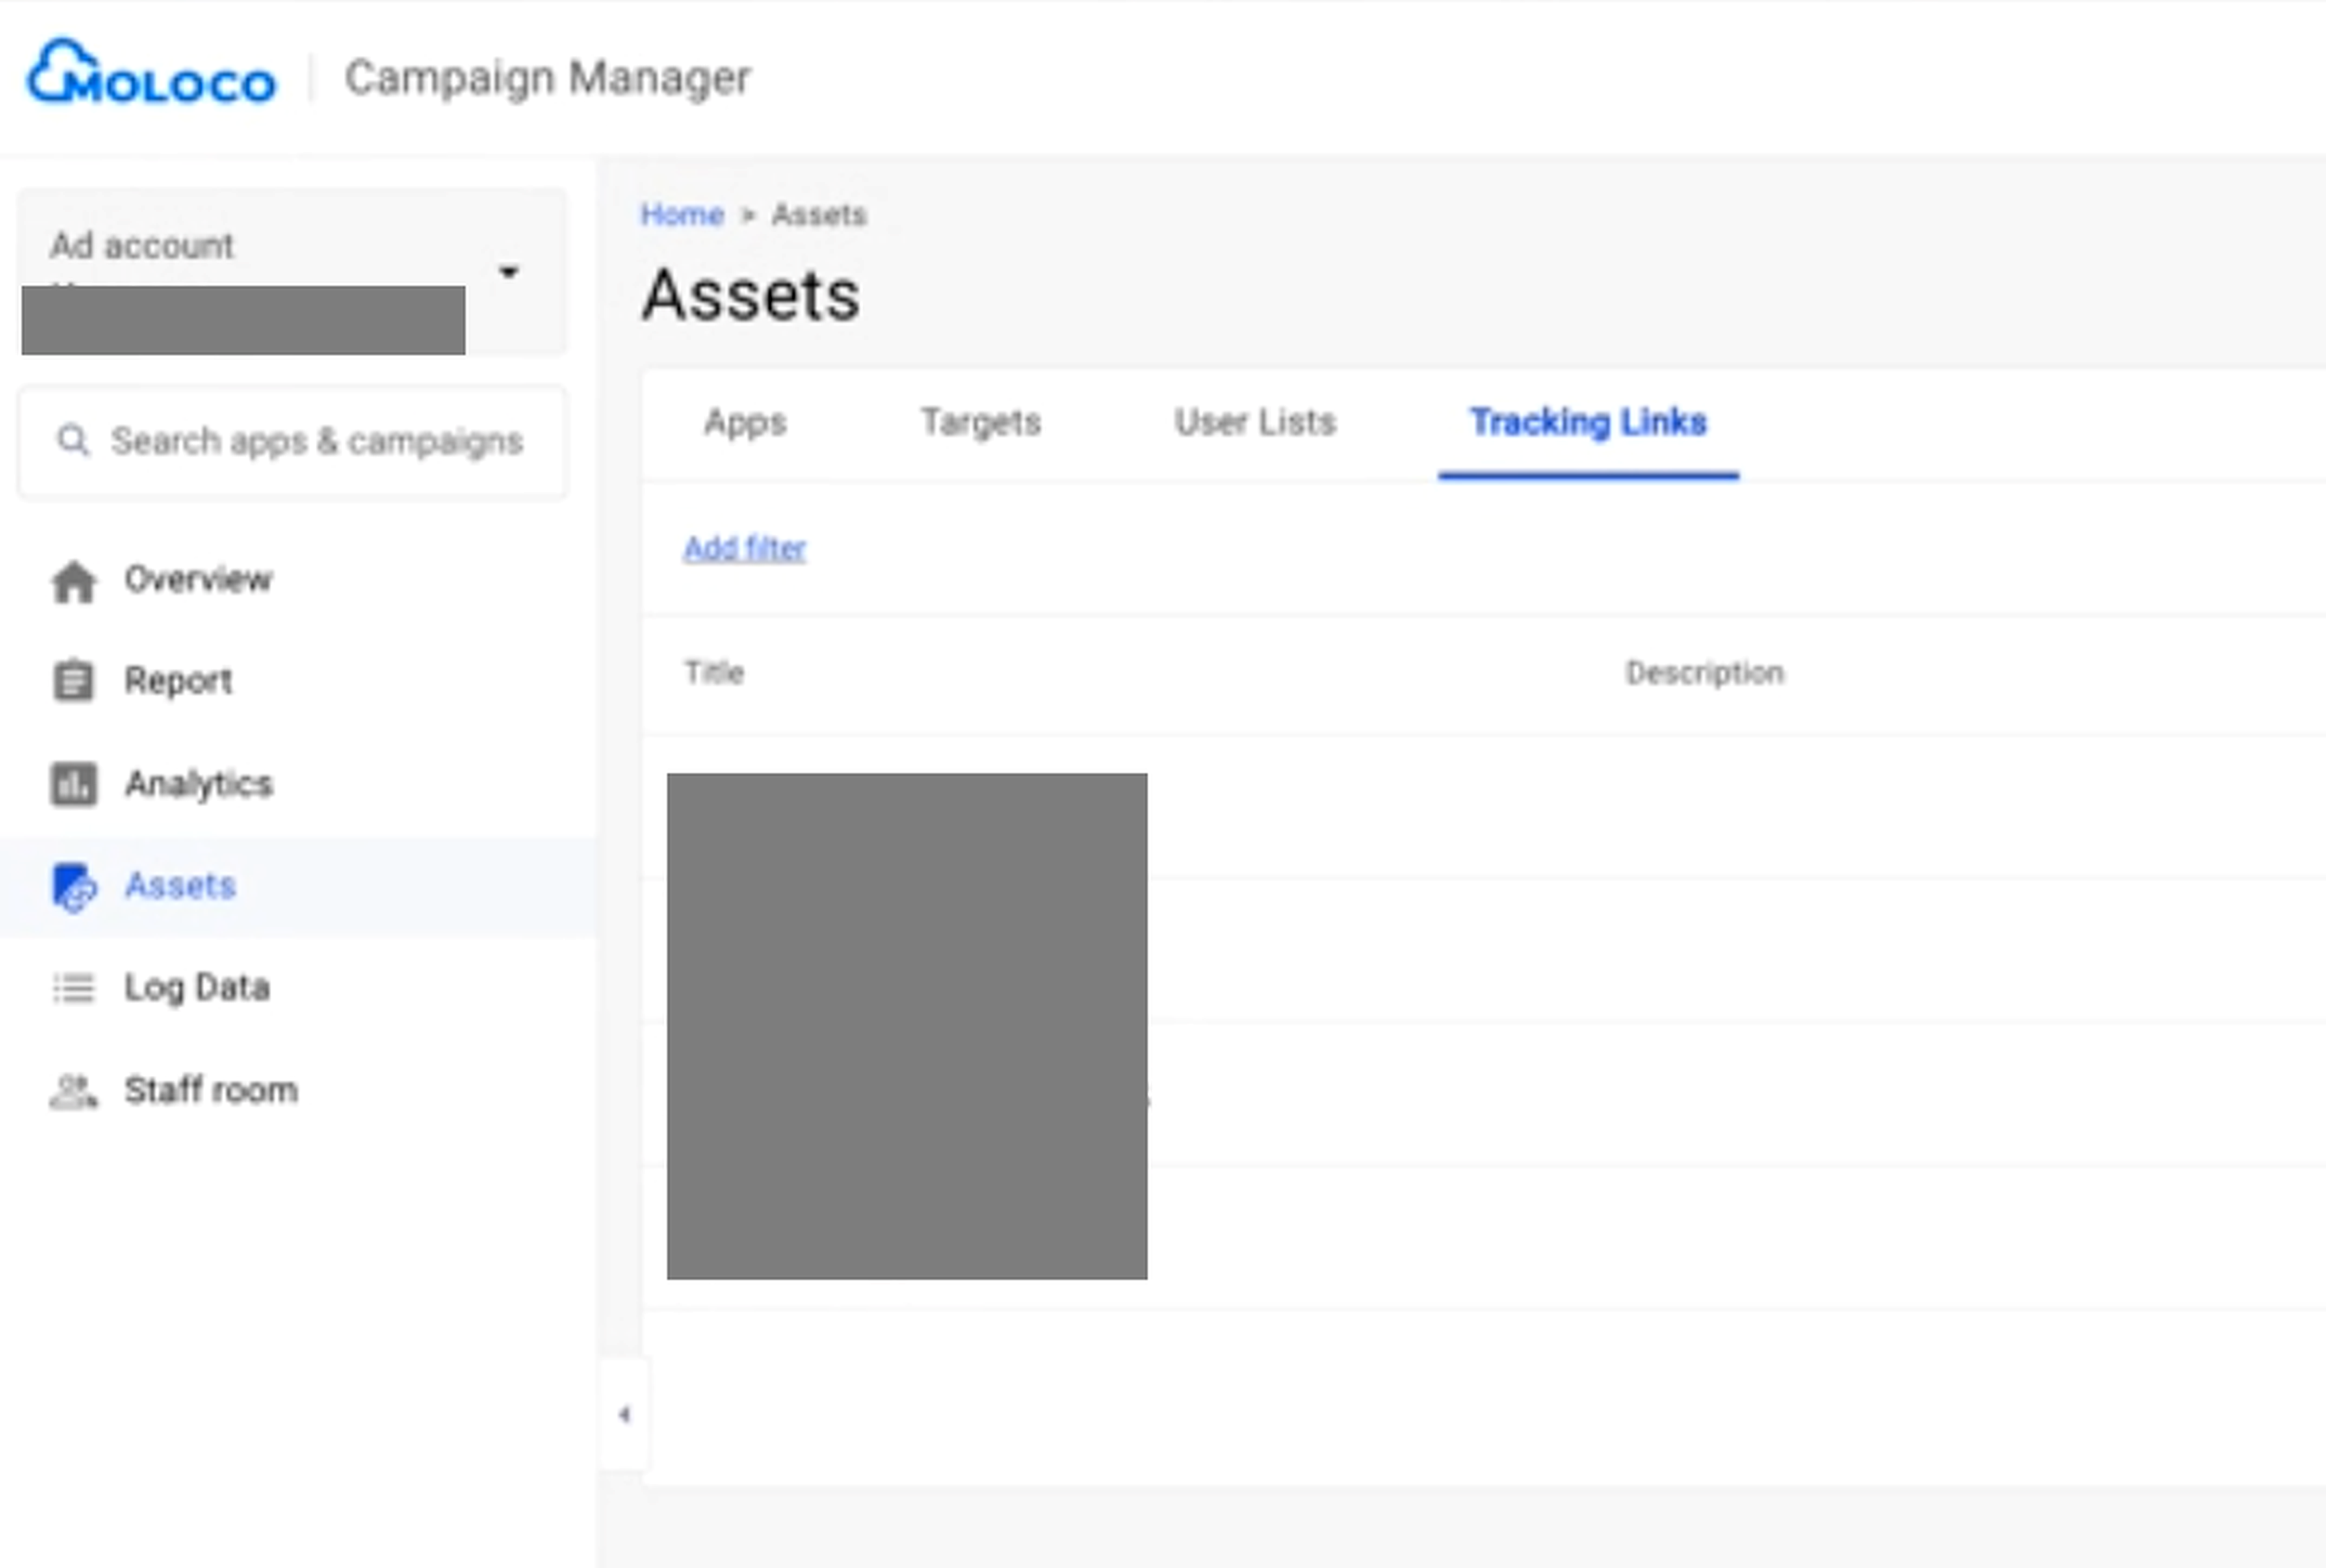
2. Add Click and Impression Links
- In your advertiser account, open the left-hand menu.
- Go to Assets → Tracking Links → Create
- Select your app and campaign name.
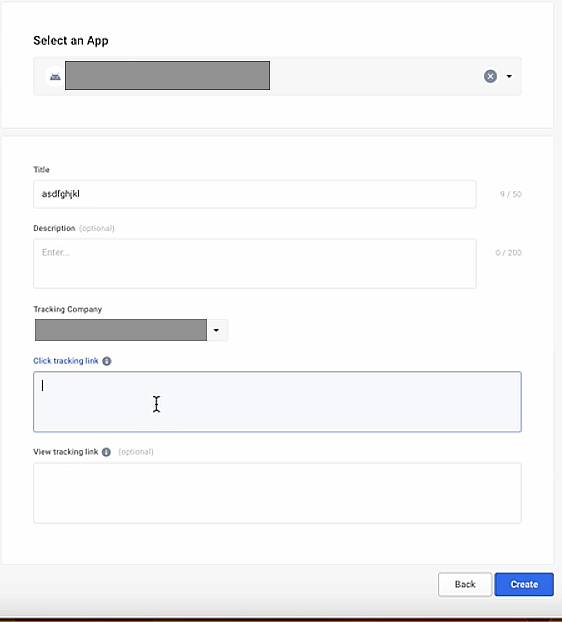
- Paste the links you previously received:
- Click Tracking Link – for click tracking
- View Tracking Link – for impression tracking
3. Create a Campaign
- In your advertiser account, select the ZM apps application you previously added.
- Click Create Campaign
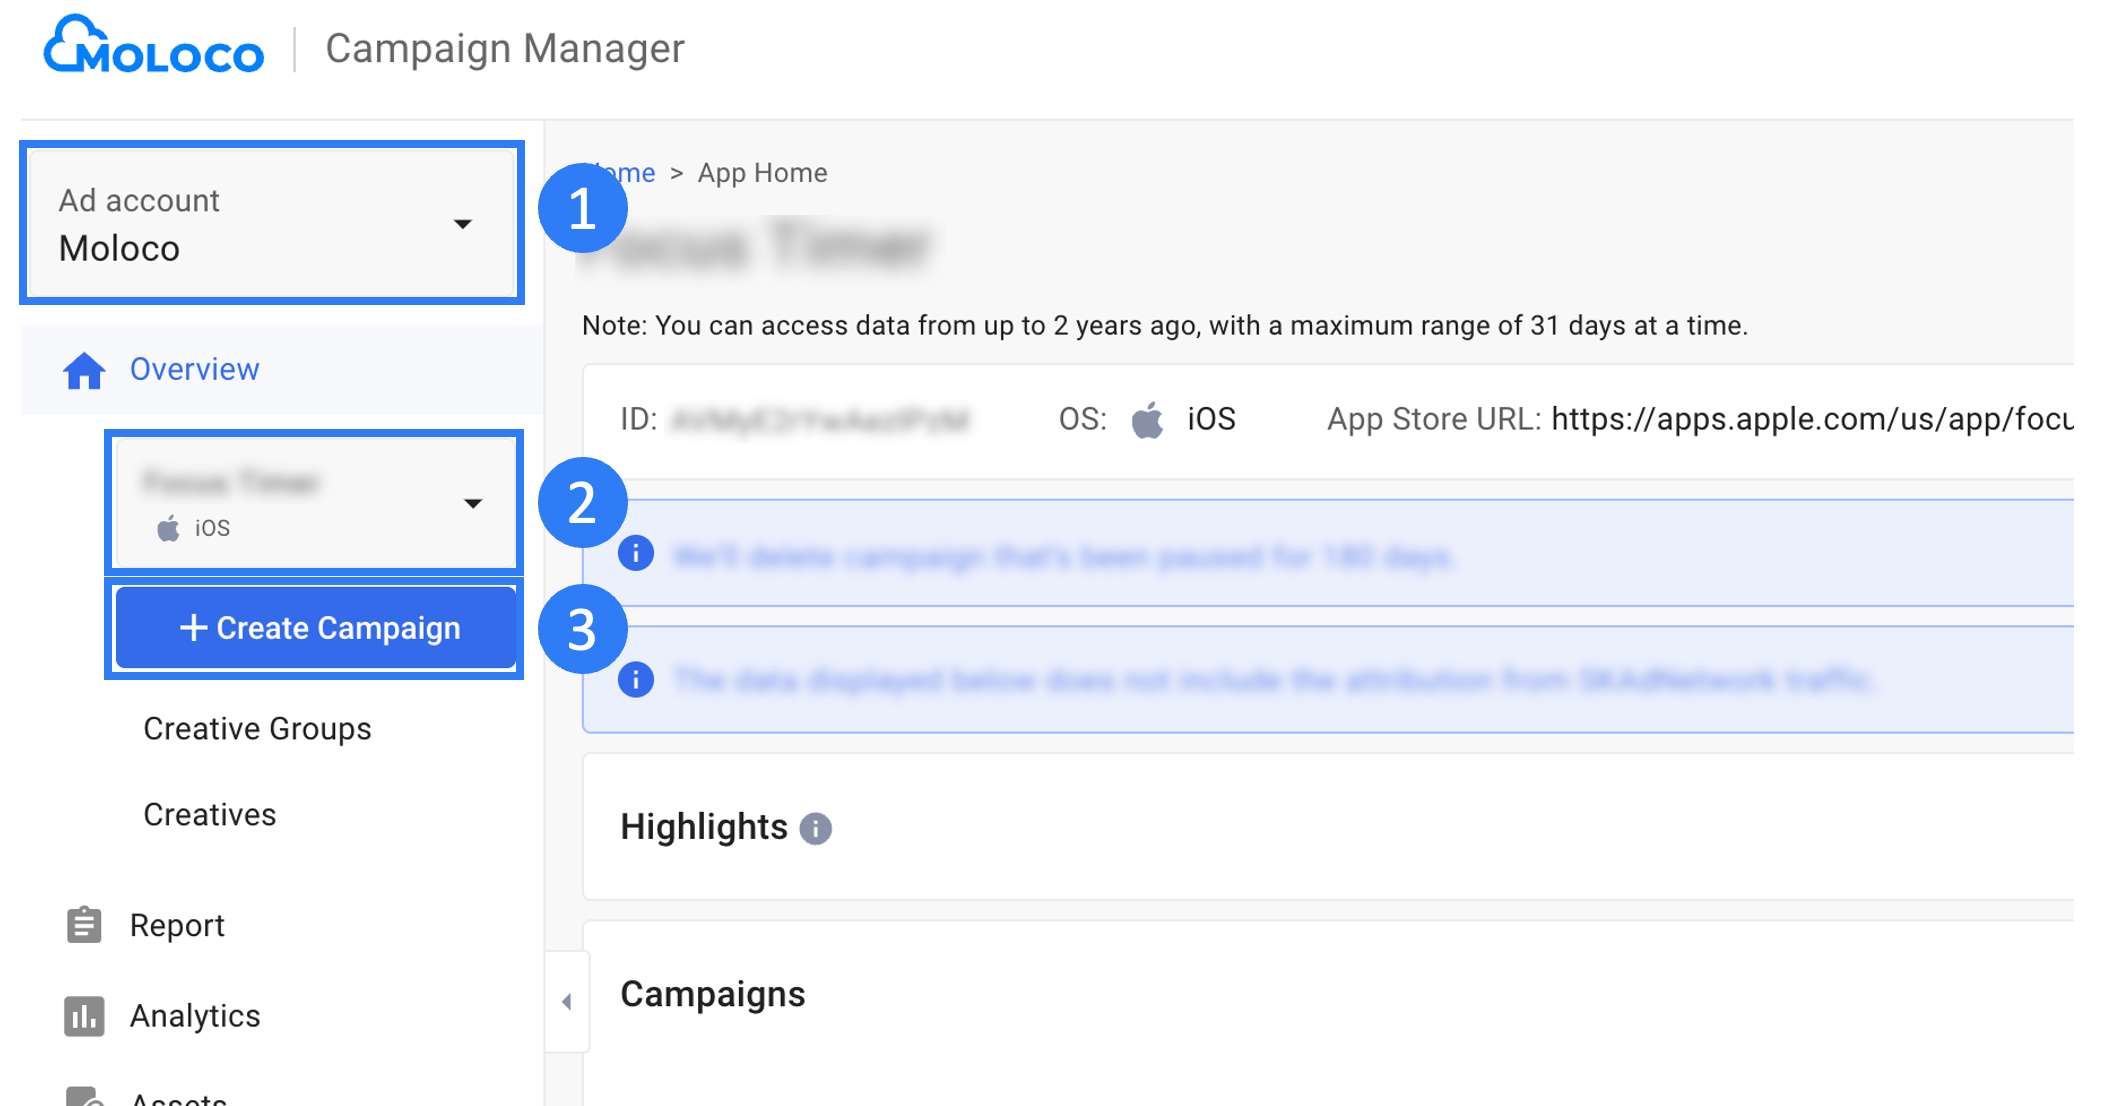
4. Configure Your Campaign
- Choose your campaign objective: User Acquisition (to attract new users) or Re-engagement (to re-engage existing users)
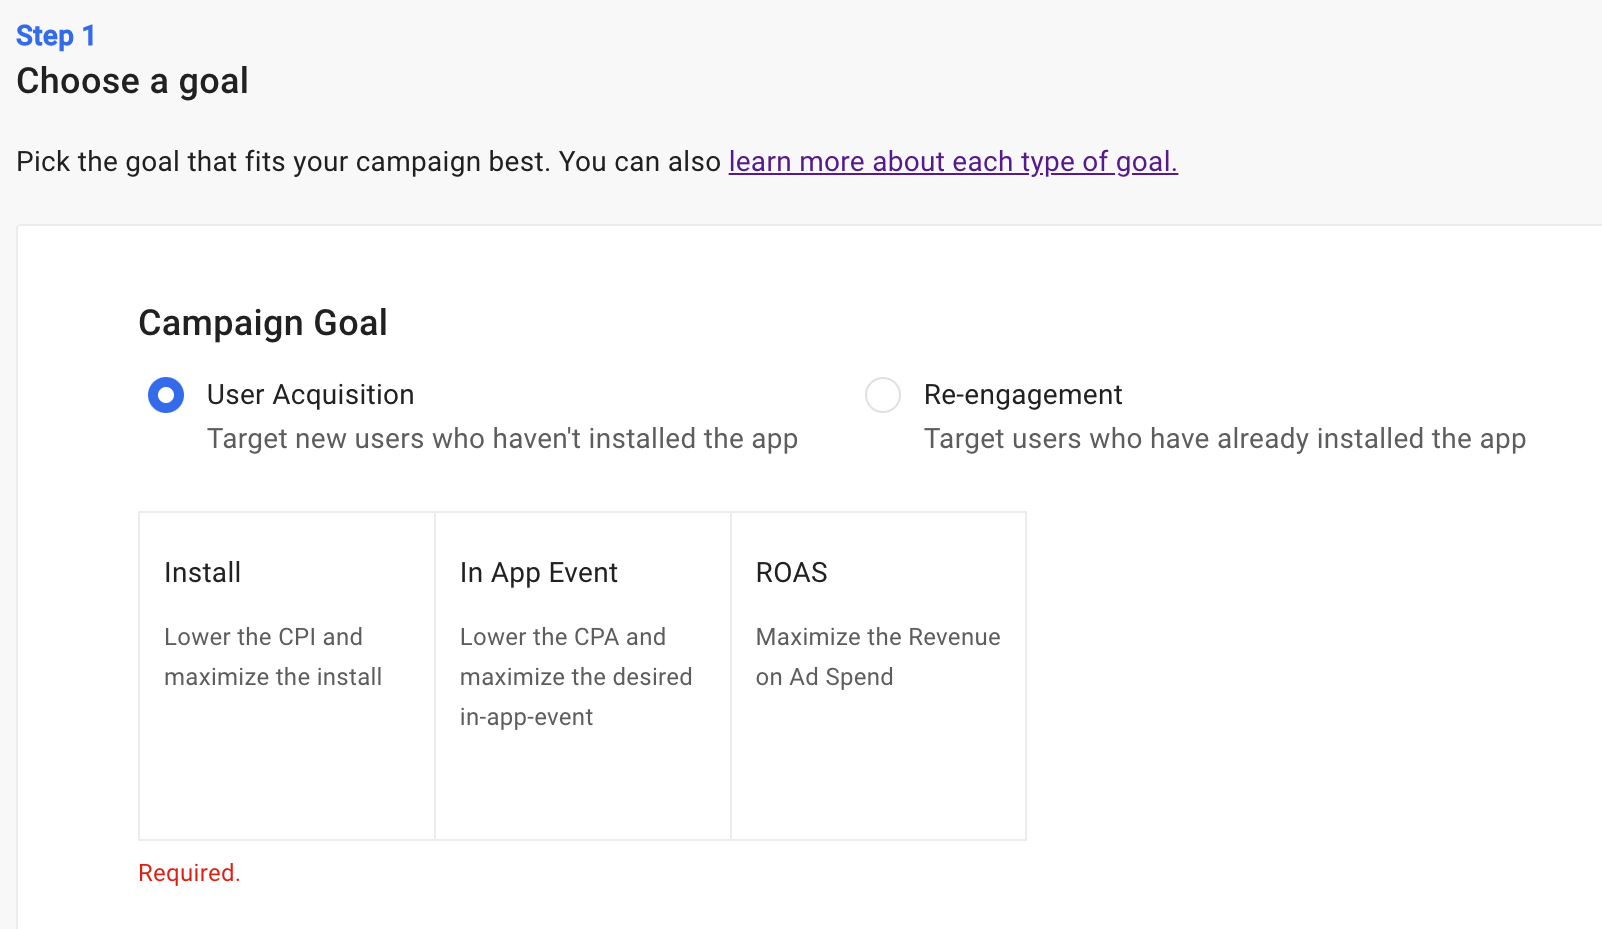
- Select the platform.
- Enter your campaign name. The naming in ZM apps always begins with
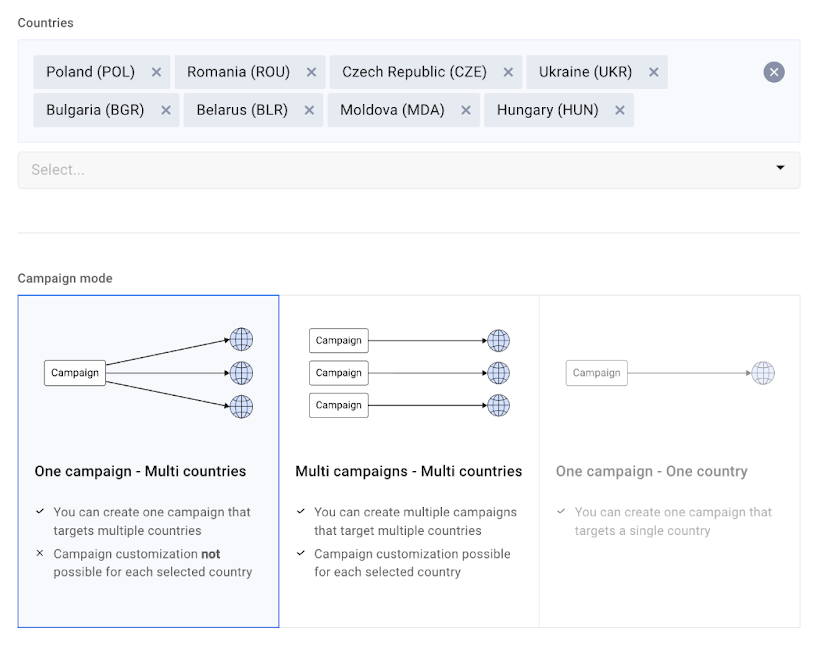
rent://and contains parameters that match your tracker link. Your Moloco campaign name must contain only the naming. Do not include any additional words, comments, dates, or symbols – doing so will disrupt tracking and postback functionality. - Set your targeting by GEO and campaign structure based on your strategy.
- Once the campaign is created, its default status will be Submitted (Preparing) – it will remain in this state while the system collects sufficient data to build the optimization model.
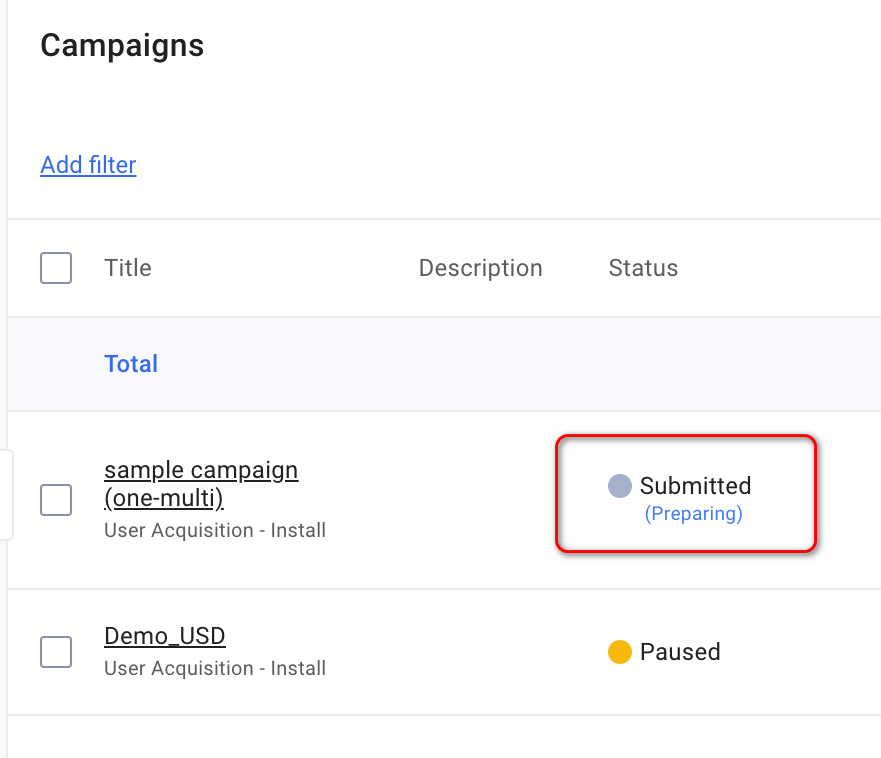
- When the model is ready, the status will change to Ready. The setup is now complete, and you can launch your campaign.
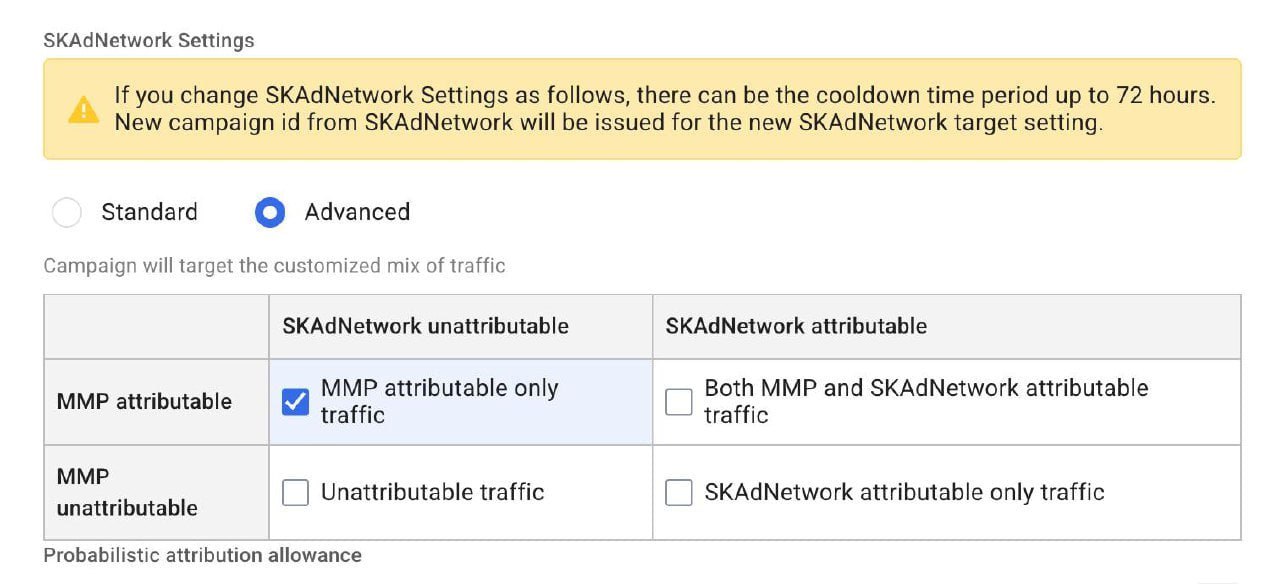
If you see the following error when launching an ad campaign:

This means that SKAdNetwork attribution has not been configured for the campaign.
How to fix:
- Go to the campaign settings.
- Find the SKAdNetwork Settings section.
- Enable the MMP attributable only traffic option.
- Save the changes and relaunch the campaign.