How to Set Up In-App Integration with Taboola
1. Get Your Naming
- Go to the Naming section in the ZM apps menu.
- Add your tracking link and click Create Naming.
- It only takes a few seconds – the system will automatically connect your link to your account and generate the correct naming format.
2. Create Conversion Events in Taboola (Realize)
- Log in to your Realize account.
- In the left menu, open Tracking → Conversions.
- Click + New Conversion.
- Fill in the following fields:
- Conversion Name – any clear name, for example
Registration. - Conversion Type – EVENT.
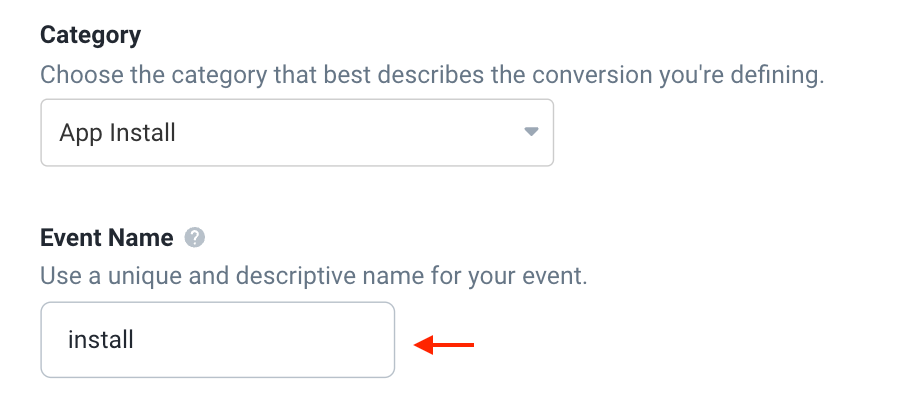
- Category – choose a category (for example, Complete Registration).
- Event Name – enter the exact name of the event that will be sent to Taboola (for example,
Registration).
- Conversion Name – any clear name, for example
- Create three events:
registration— user registration,deposit— user makes a deposit,open_app— first app open.
3. Set Up Taboola Macros (Attribution Parameters)
- Go to the Attribution Link Parameters section.
- Review your existing macros and add new ones if needed.
- Make sure you have a campaign parameter (or similar) that sends the campaign ID.
4. Send Data to ZM Apps Support
Once you’ve created your conversion events and defined your macros, contact ZM apps support.
Provide the following information:
- Taboola Advertiser ID
- App name or bundle
- Your naming
- Event names (Registration, Deposit, Open App)
- List of macros used
After setup, we’ll send you your Click and Impression URLs.
5. Set Up Your Campaign in Taboola
- In the Campaign Name field, enter your naming from ZM apps.
⚠️ The campaign name must contain only the naming value.
Do not add extra words, dates, or comments — this can break data tracking.
- In the campaign settings, go to the Tracking section.
- Add the Click and Impression URLs provided by ZM apps support.
- Save your changes.
After adding the links and creating your campaign, check the campaign status and test clicks/impressions to make sure events are being tracked correctly in ZM apps.