Demand Gen campaign
1. Create a flow in the bot or in your ZM apps account.
We made a step-by-step guide to help you set it up for:
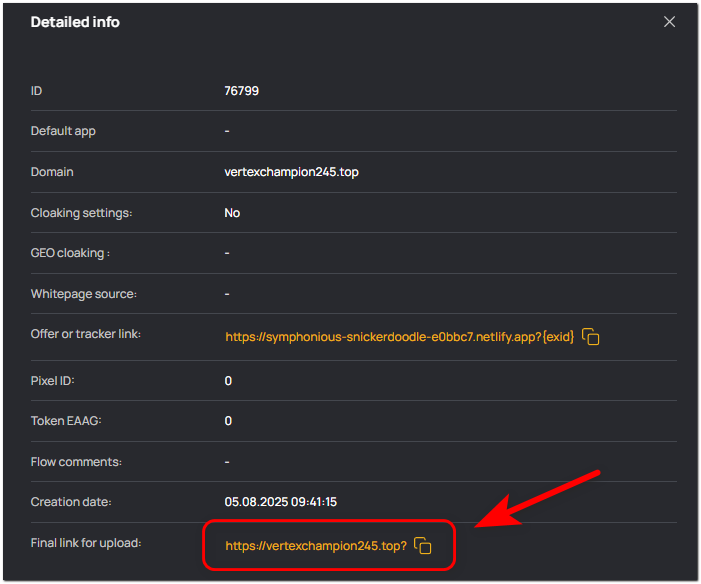
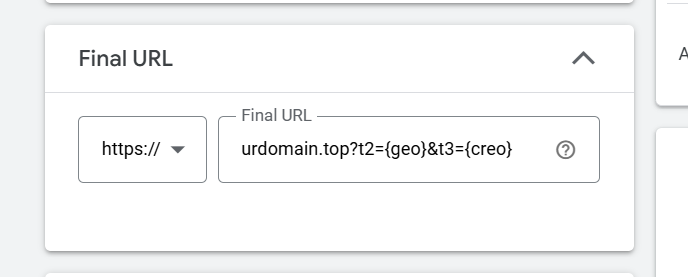
2. Copy the final ZM apps link — you will need it for the setup.
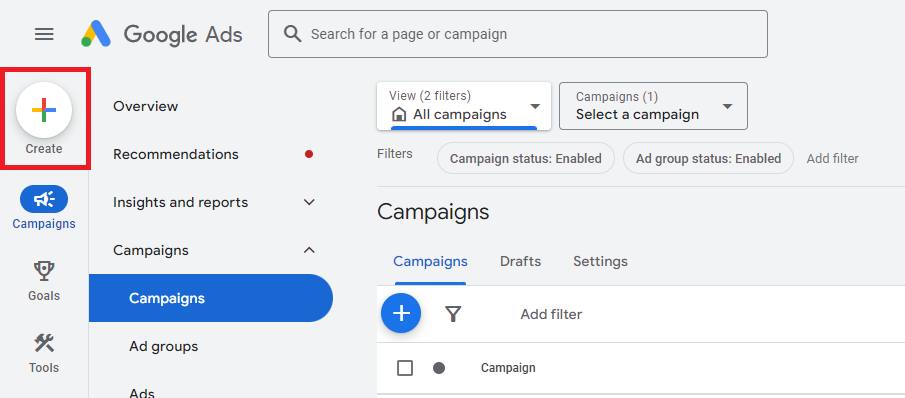
3. Go to Google Ads and click Create Campaign.
4. Choose the campaign goal:
- Sales
- Leads
- Website Traffic
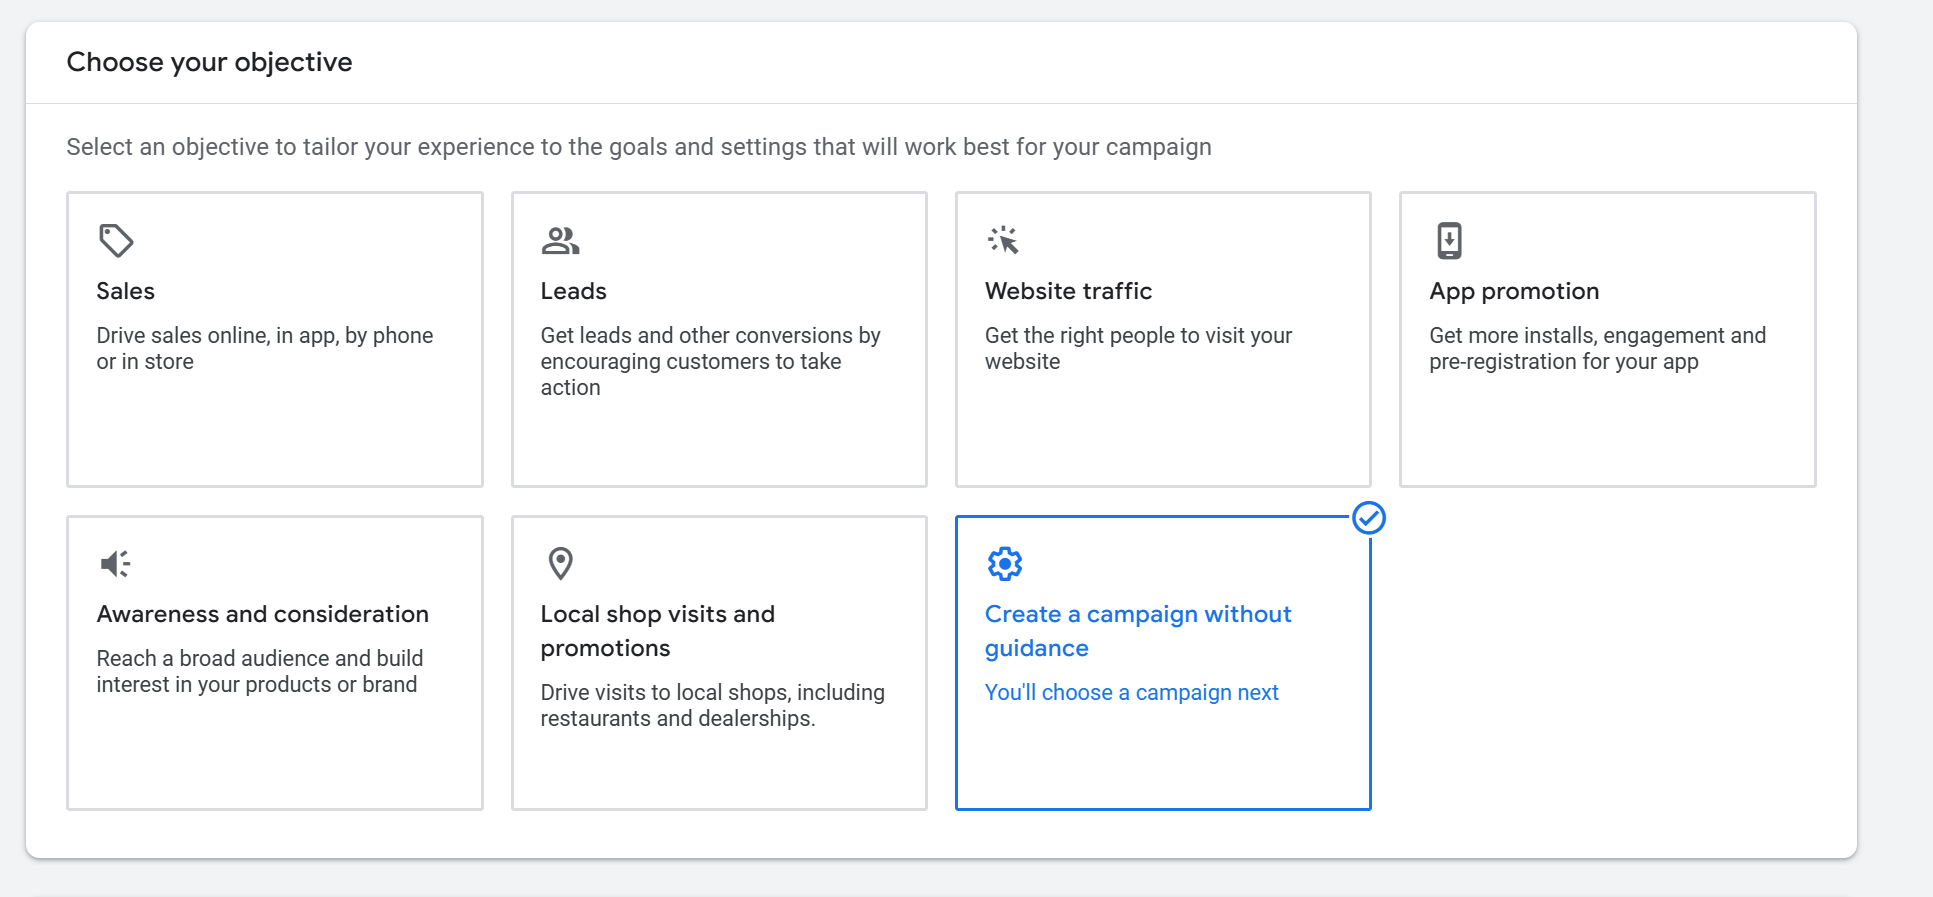
Or create a campaign without a goal for now.
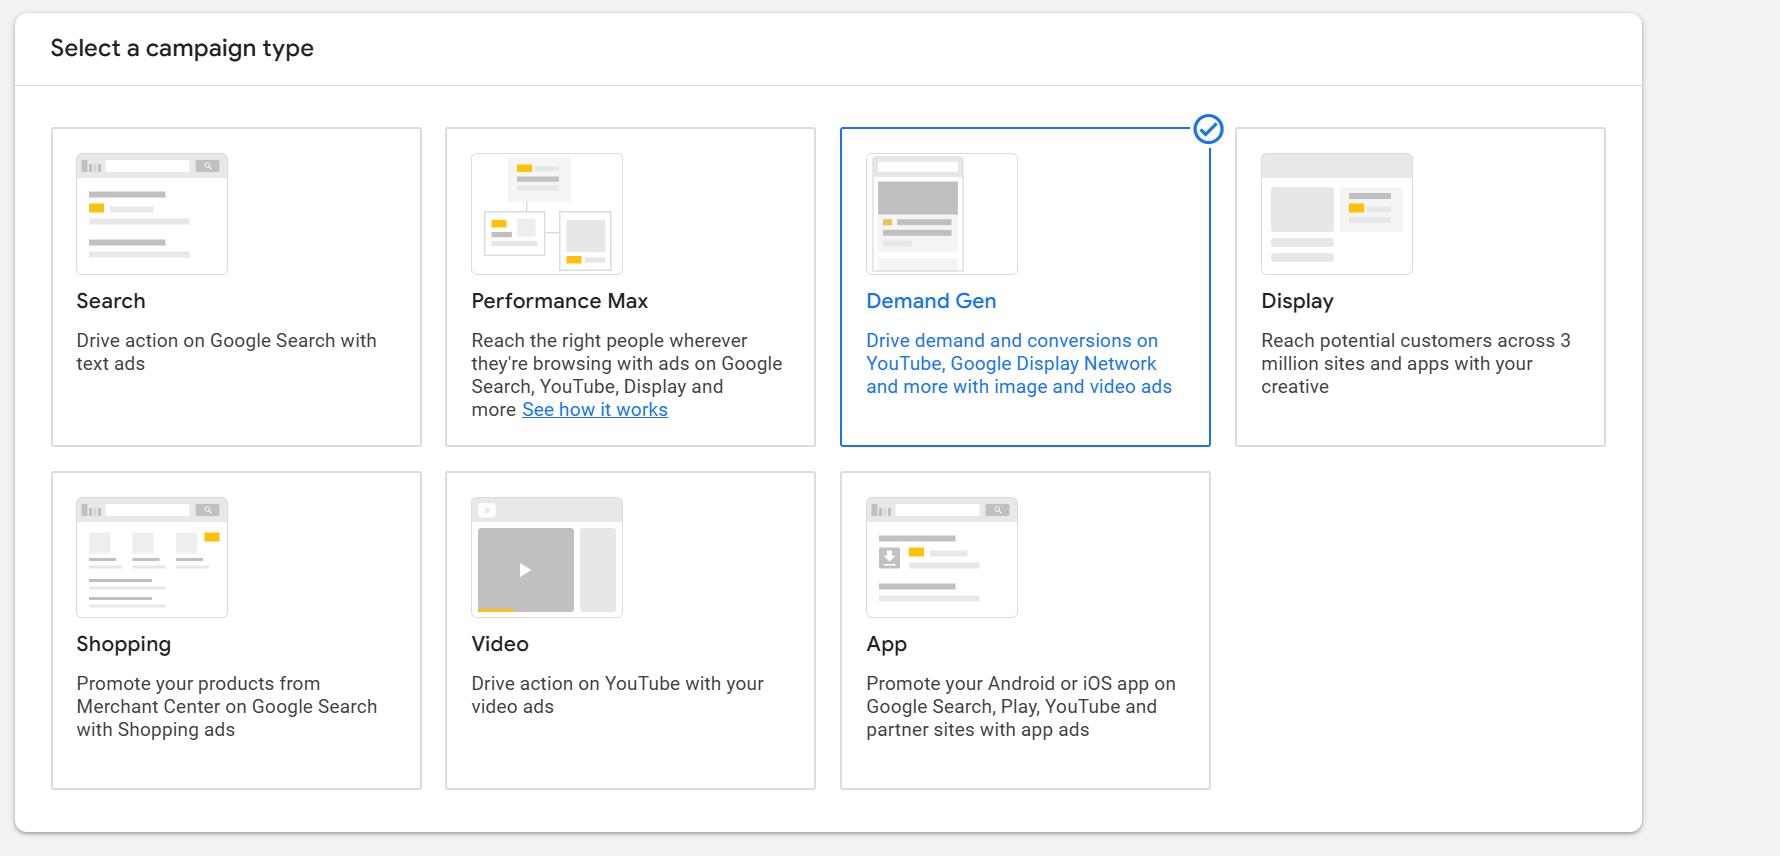
5. Choose campaign type Demand Gen (Demand Generation).
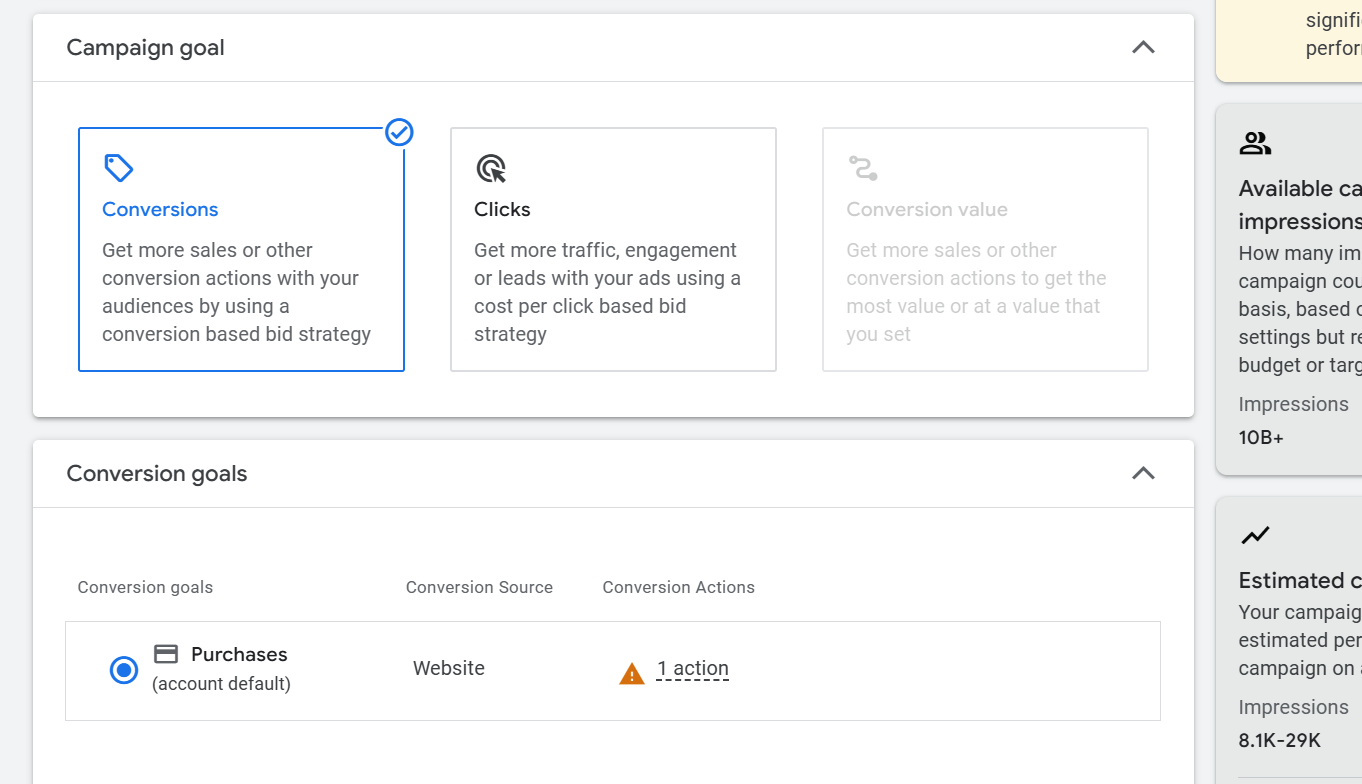
6. Set campaign objectives
Pick a goal that works for you and choose a conversion goal.
7. Enter basic campaign settings:
- Location (Geo)
- Budget
- Audience, etc.
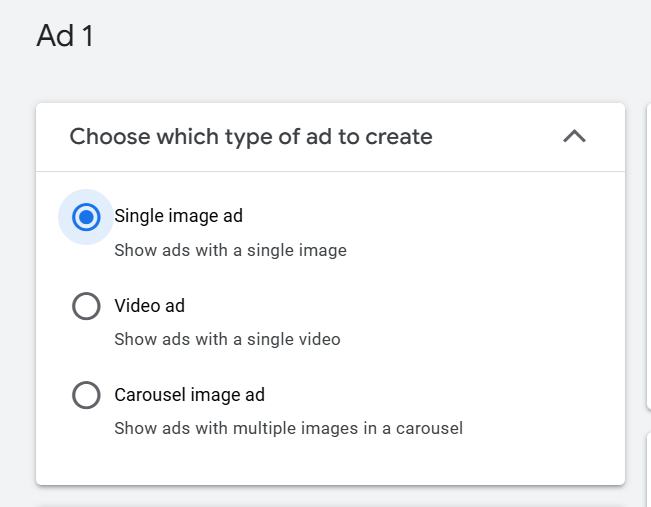
8. Go to Ad Settings.

Choose ad format:
-
Images
Upload your creatives (up to 20). Formats allowed: horizontal, square, or 4:5. -
Carousel
One ad can have up to 10 cards. -
Video ads
Needs a YouTube link. Upload your video to your channel and add the link.
9. Paste the link from the bot or your ZM apps account into Final URL.
10. Do not use Tracking Template.
Google warns this may cause issues:
"With parallel tracking, using HTTP here may break your click tracking/redirect systems. While we can’t control later redirects, Google Ads will always use HTTPS for the first tracking call. All next redirect URLs must also use HTTPS. Redirects should be server-side."

Done! Your Demand Gen campaign is ready. Now you can start ads and track results in Google Ads.