Creating and Configuring a Split Flow
In this article, we’ll walk you through how to create a new split flow in your ZM apps dashboard and set up rules for flexible traffic management.
Step 1. General Flow Settings
First, you need to configure the default rule. The default rule is a fallback scenario that works only if none of the other rules match.
Steps:
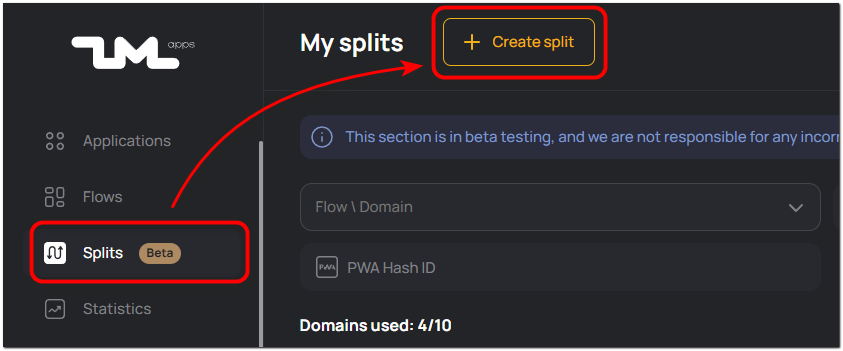
- Go to the Splits section and click Create split.
-
Select the domain type:
- Random domain — the system will automatically select an available domain.
- New domain — you can order a domain with a specific name.
Learn more about domain types and how to work with them
here.
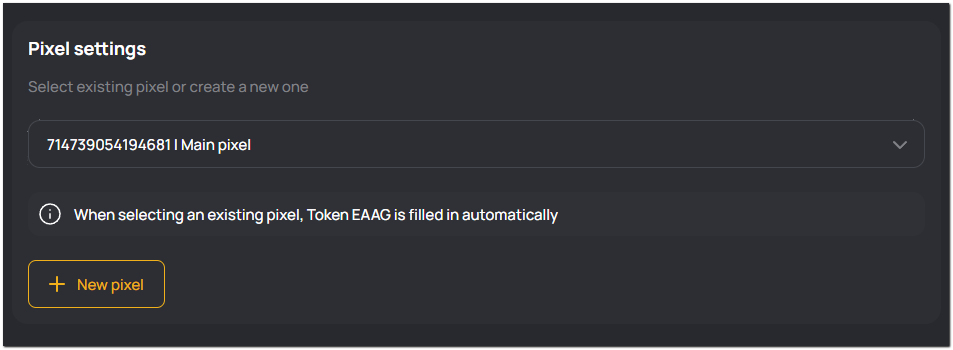
- Select an existing pixel or create a new one.
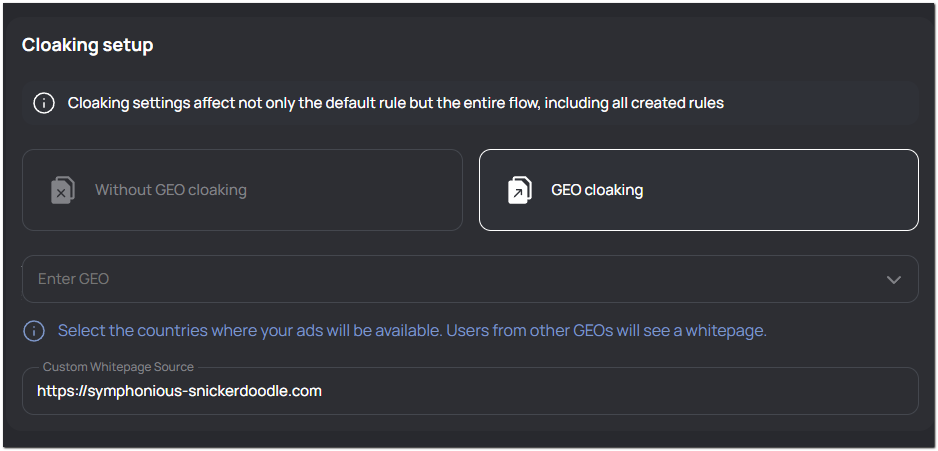
- Configure GEO cloaking.
Cloaking applies to the entire flow, including the default scenario and all rules.
- No GEO cloaking — users are not filtered.
- GEO cloaking — users from specified countries will see the main content, others will see the whitepage.
- To use your own whitepage instead of the standard one from ZM apps, enter its URL in the Whitepage Source field.
-
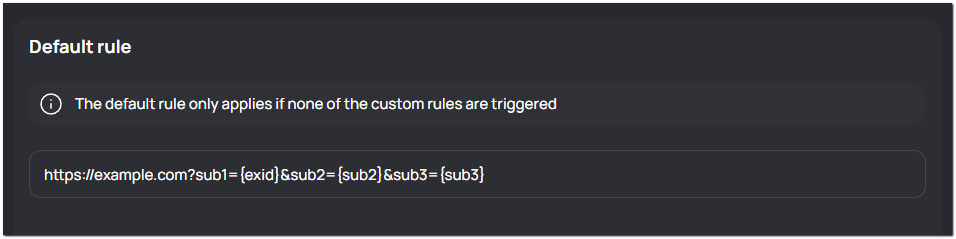
Specify the offer/tracker link.
If the user doesn’t match any rule, they will be redirected directly to the specified offer/tracker, without using apps.
- Optionally, add a comment for convenience.
- Click Save.
The split flow is created. Now you can set up rules for more precise traffic control.
Step 2. Adding Rules
Rules allow you to set display conditions for specific user groups.
- Click Add Rule.
- Give the rule a name.

- Set the trigger conditions:
- By GEO – the rule applies only to users from the selected countries. You can specify one or multiple countries.
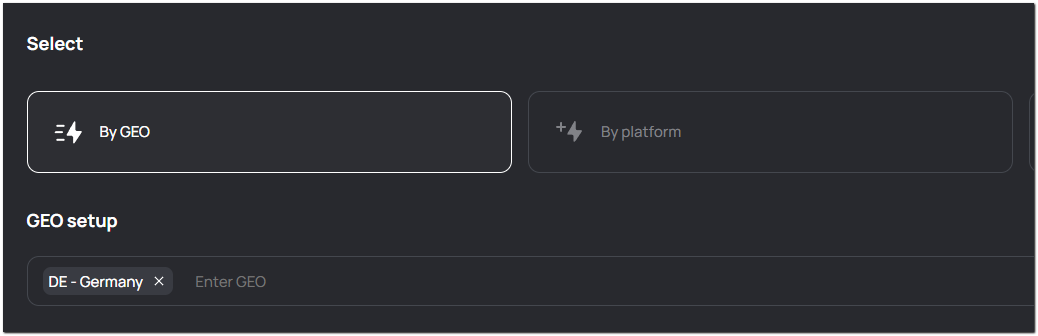
- By Platform – iOS or Android.
In rules, you can select both iOS and Android as target platforms. However, the system does not validate whether the chosen app matches the user’s actual platform.
Here’s what that means:
- if a rule targets both iOS and Android, but only an iOS app is added, Android users will still be sent to the iOS app;
- if only an Android app is added, iPhone users will see the Android app as well.
So, make sure you pick apps carefully when setting up rules.
If you want to target for each platform, add apps for both iOS and Android.
- By Sub – set a value that the system will look for. The rule only triggers if the user’s link contains this parameter.
Condition sub1 = test1 is set → this means you need to add the parameter sub1=test1 to the final link. The system will then match the parameter and send the user according to this rule.

If the sub is not specified in the final link or has a different value, the system will skip this rule and continue checking other rules in order from top to bottom.
- Click Add split. Select one or more apps for this rule:
- You can combine apps for different platforms in a single rule.
- Pre-landing is configured separately for each app.
- Set the traffic distribution ratio between apps.
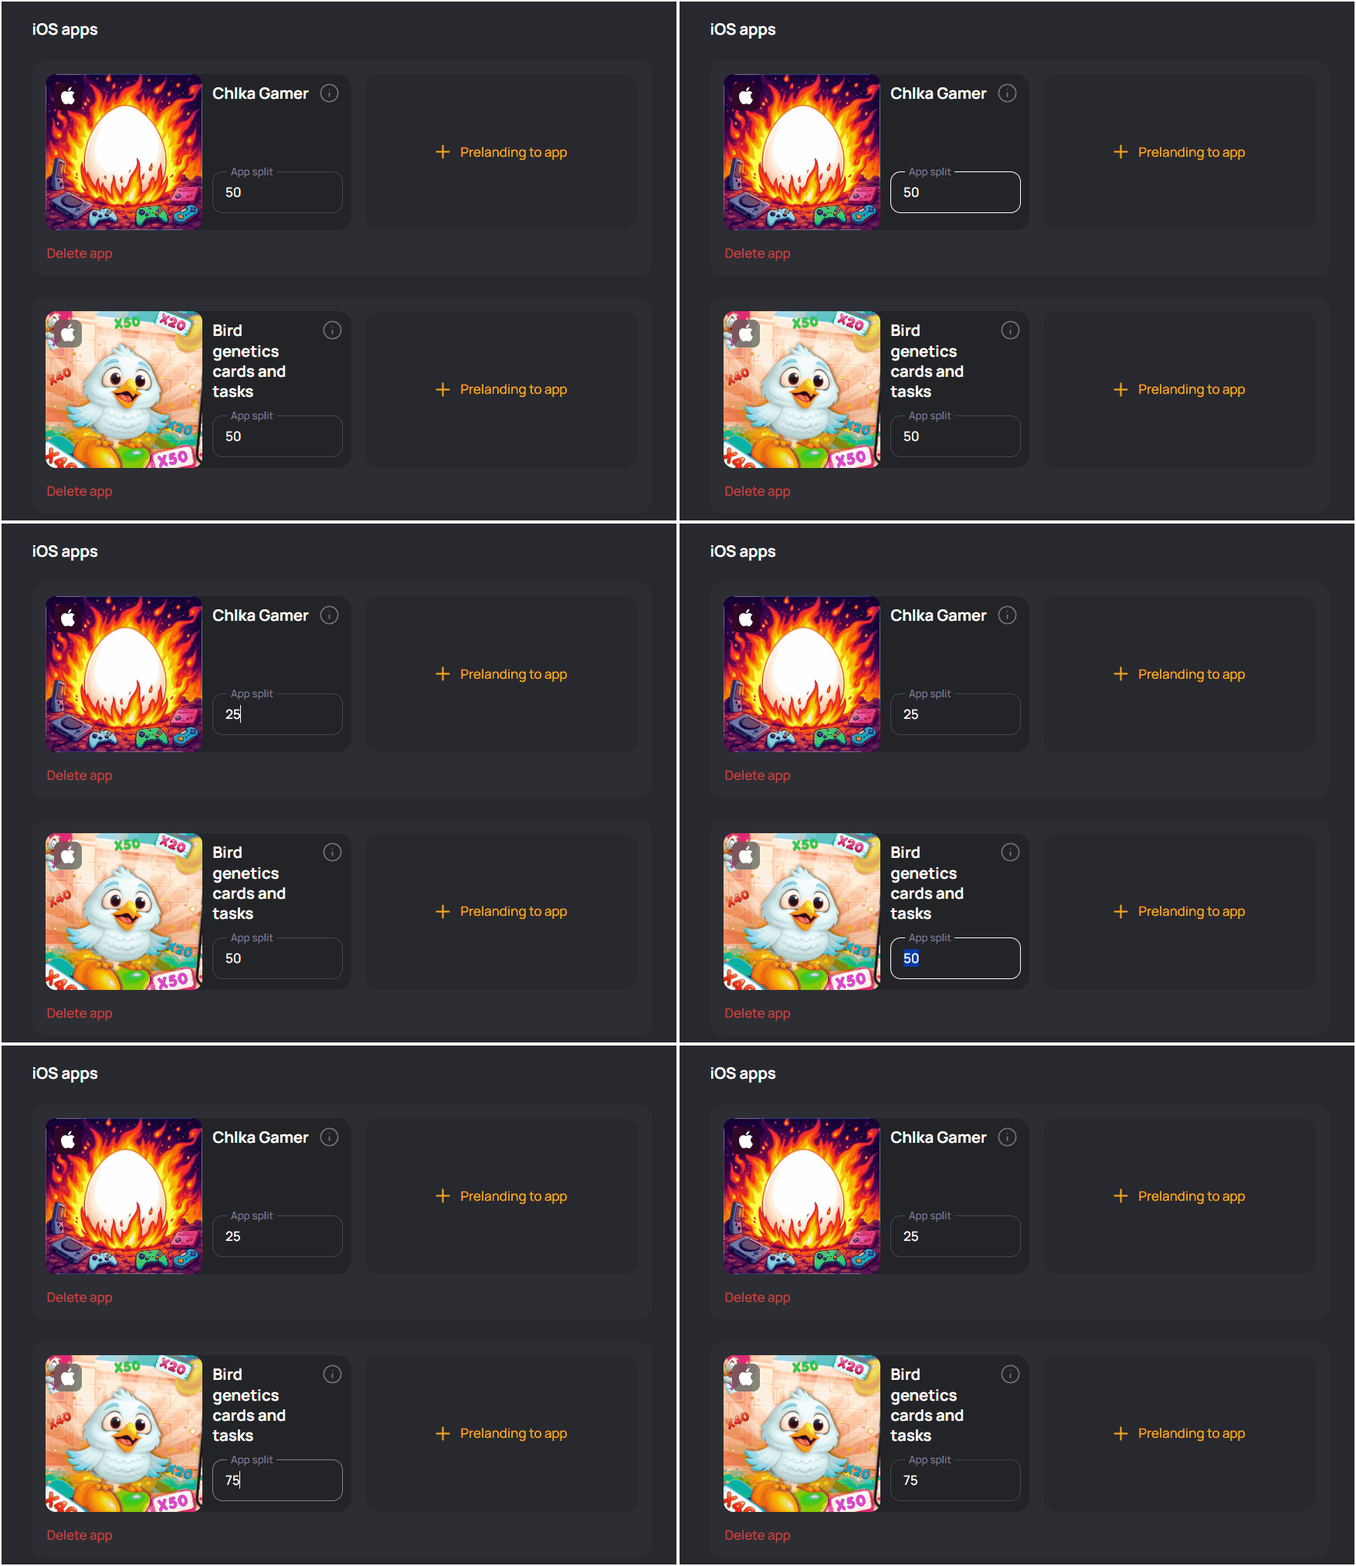
The Automatic App Swap function in splits does not work.
If all applications are banned in a rule, the system sets their weight = 0, and the traffic goes to the default rule.
- Click Save.
Add as many rules as needed for your tasks. Once done, the split flow will start distributing traffic according to the defined logic.
Rule Priority and Order
- All added rules appear in a list and have a unique ID.
- Rules are processed from top to bottom: the higher the rule in the list, the higher its priority.
- If the top rule matches, the rest are ignored.
- To temporarily disable a rule, use the toggle next to it.
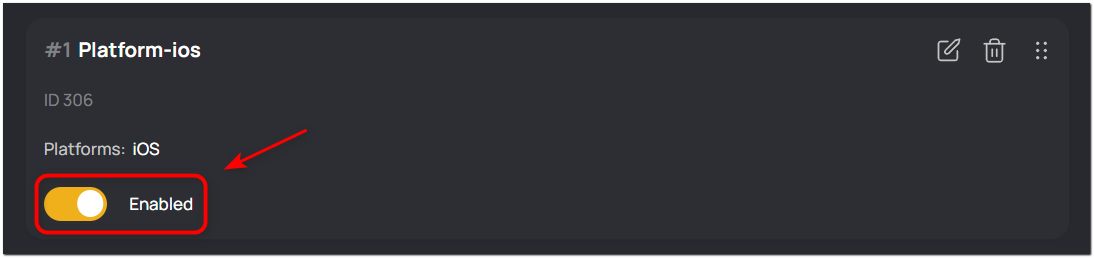
- To change the order, drag and drop rules.
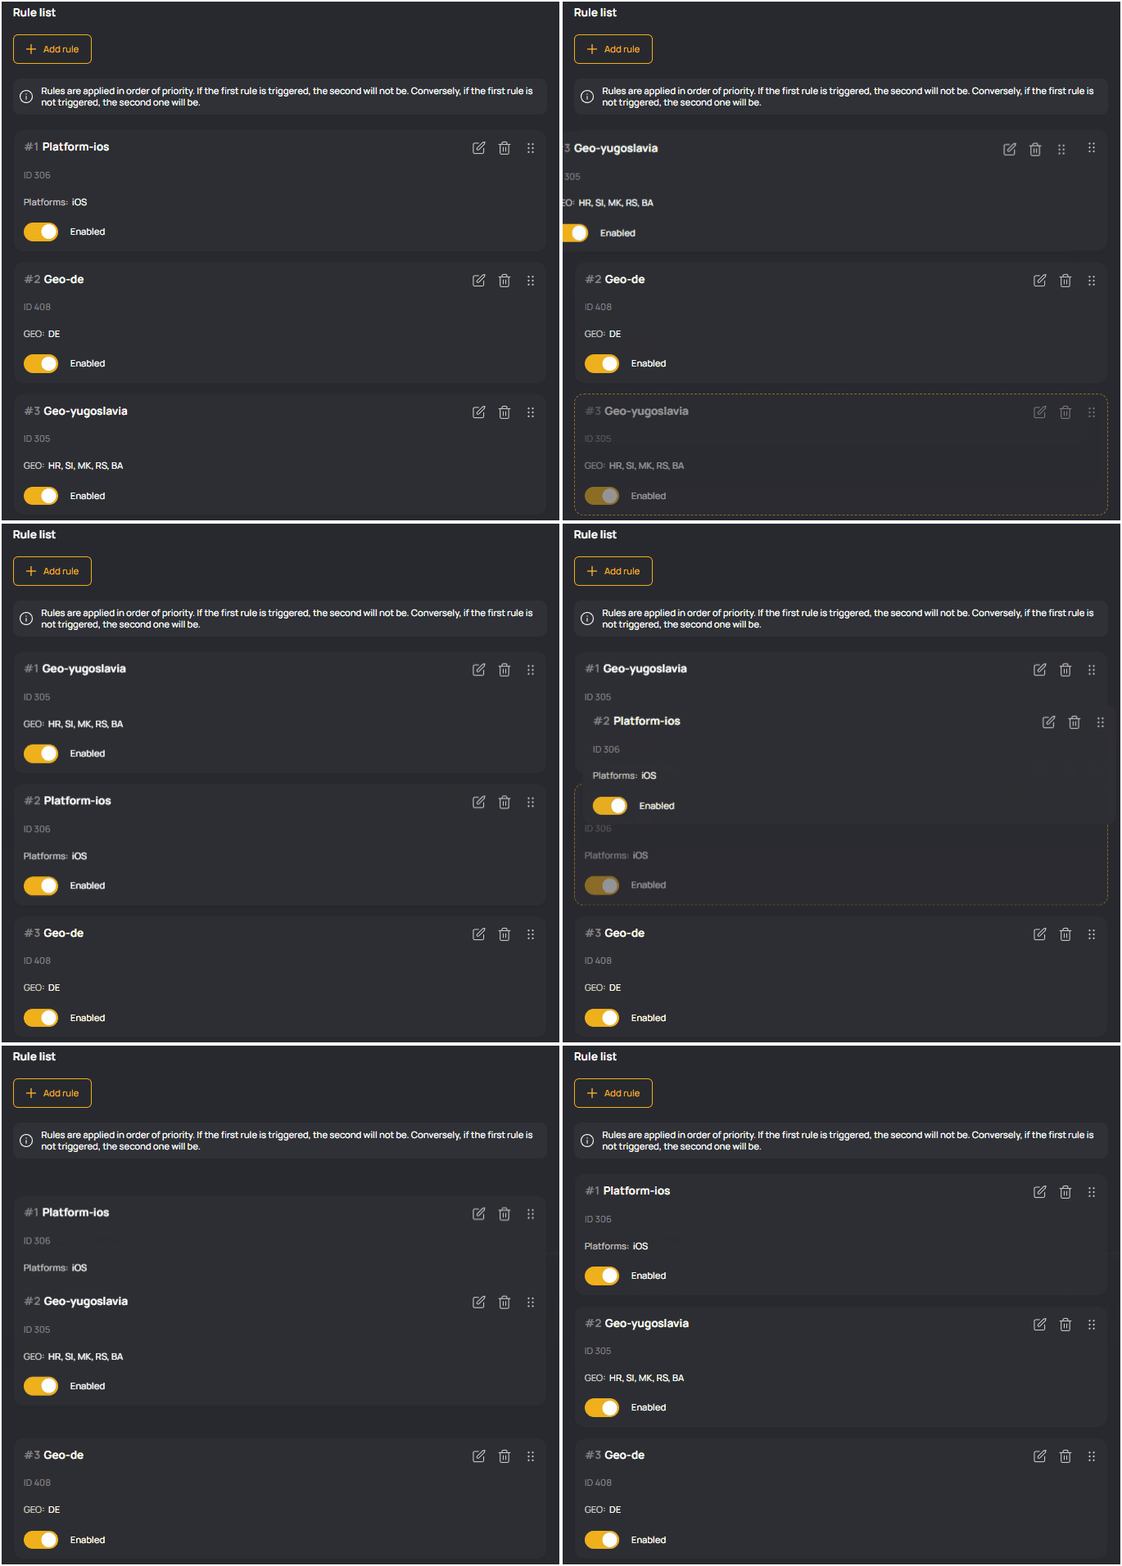
Important:
If no rules match, the user is sent to the offer specified in the default settings.
You can add macros to the final link:
{rule_id}— inserts the ID of the triggered rule.{rule_name}— inserts the name of the triggered rule.
Example:
https://example.com?sub1={exid}&sub2={rule_id}&sub3={rule_name}
All main settings are done, and the split flow is ready to work. You can always return to the split flow to edit rules as needed.