Creating and Configuring a New Smartlink+ Flow
Smartlink+ flows allow you to combine iOS applications and PWAs into a single link.
To create a new Smartlink+ flow, follow these steps:
Step 1. Create a Flow
- Go to the Flows section in the left sidebar of ZM apps.

- Click Create to start working on a new flow.

-
Select the domain type:
- Random domain — the system will automatically select an available domain.
- New domain — you can order a domain with a specific name.
Learn more about domain types and how to work with them
here.
Step 2. Select an Application
- Choose the flow type Smartlink+.

- Select an iOS application.
The availability of applications depends on your pricing plan and your role in the system.
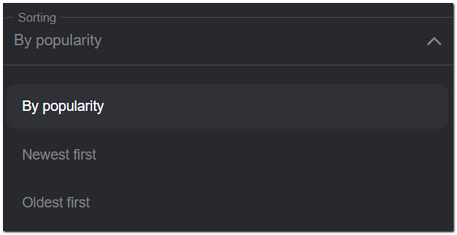
- By default, the applications are sorted by popularity. To change the order, select the sorting type from the dropdown menu.
- If you know the name of the application, start typing it in the Search field. The list will update automatically.

- Click Select to confirm your application choice, or View to open detailed information about the application.

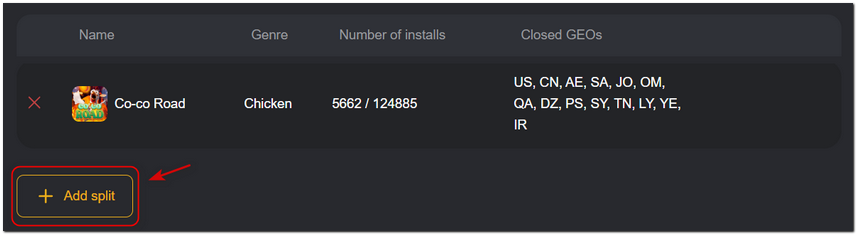
- You can add up to 10 iOS applications at once. To do this, click the Add Split button.
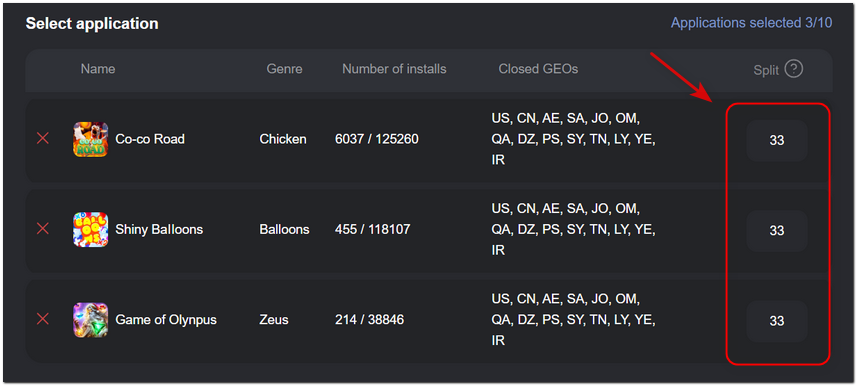
- When adding a split, the traffic will be evenly distributed across the selected applications. If needed, you can manually adjust the distribution.
In Smartlink flows, the auto-replacement feature may not work.
In such cases, the traffic will need to be stopped manually.
- Select a PWA application.
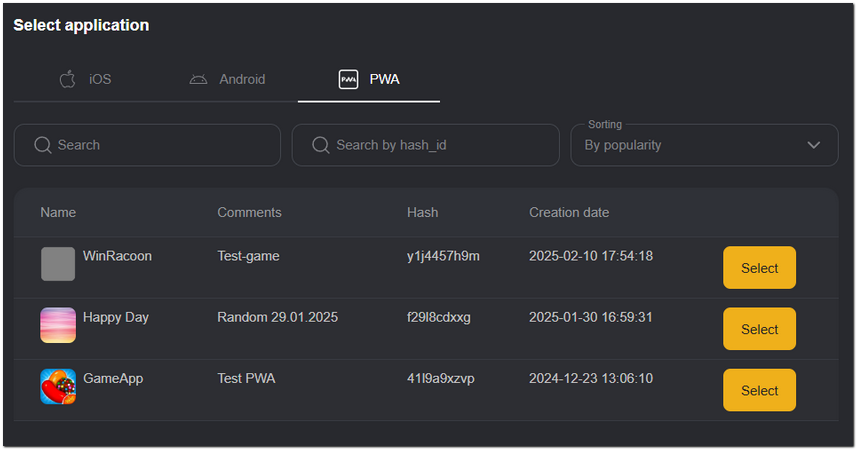
How to create your own PWA applications? Find out more here
Step 3. Pixel Configuration
You can:
- Select an existing pixel from the list.
- Create a new pixel directly while setting up the flow.
- Continue without a pixel — in this case, events will not be sent to the source.

Learn more about creating and editing pixels read our guide here.
When creating a flow, the selected pixel is automatically added to the final link’s parameters.
If you need to manually add an extra Facebook or Tiktok pixel, follow these steps:
- Make sure the needed pixel is saved in the My Pixels section.
- Add this parameter to the final link:
&pixel_fb=ID of the required pixel(same macro for FB and TT)
Example:
https://example.com/?sub1={sub1}&pixel_fb=12344321234
Step 4. GEO and Whitepage Configuration
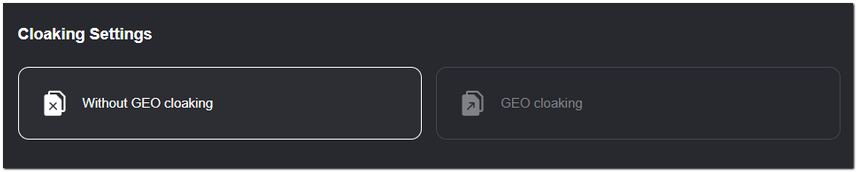
- If GEO cloaking is not required, select No Cloaking and proceed to the next step.
-
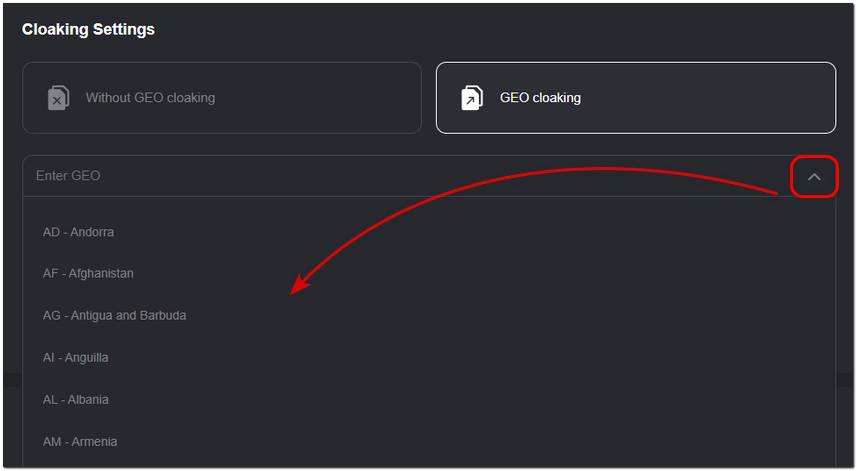
For GEO cloaking configuration, select GEO Cloaking.
-
In the dropdown list, select the regions where your ad will be available. Users from other GEOs will see a white page.
- To use your own whitepage instead of the default from ZM apps, enter the URL in the Whitepage Source field.

- Optionally, add a comment to the flow.

Step 5. Prelanding Configuration
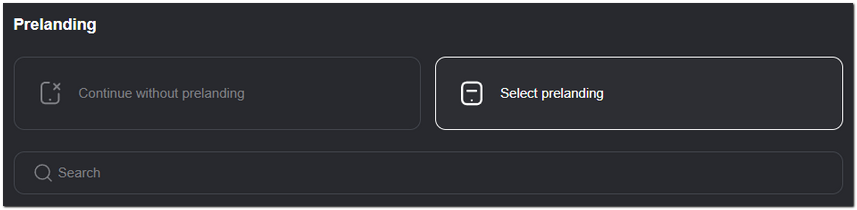
- If no prelanding is required, click Continue without prelanding.

- Click Select prelanding to add an existing prelanding page.
Step 6. Push notification setup
Push notifications are already enabled by default for all applications.
If needed, you can change the push notification settings:
- Keep default push notifications — standard push notifications will be used without any changes.
- Select push notification templates — ready-made presets with predefined parameters and automatic translations.
- Copy push notifications from another flow — allows you to fully copy push notification settings from one of your other flows.
Extendy is an external push notification service. When Extendy is selected, the standard ZM apps push notifications are not sent for this flow.
To correctly attribute pushes to your traffic, pass exid in the sub_id_10 parameter.
If you use a tracker, specify sub_id_10={tracker_macro} in the offer settings, where exid is passed.
For example, in Binom:
sub_id_10={t1}.
If you work without a tracker, add the parameter directly to the offer link.
Step 7. Set Up Offer/Tracker
- Paste the offer or tracker link in the URL field.

Ensure the link is correctly formatted. For more information, refer to the Integration Instructions.
PWA applications work best in the Google Chrome browser.
If a user follows a link from third-party apps (such as Telegram, Facebook, etc.), it may open in an in-app browser where PWA installation might not work correctly or may be unavailable.
If needed, you can set up a redirect to open the link in the default browser — please contact our support team for assistance.
Step 8. Complete the Setup
- Review the details in the Check your information section and click Finish.
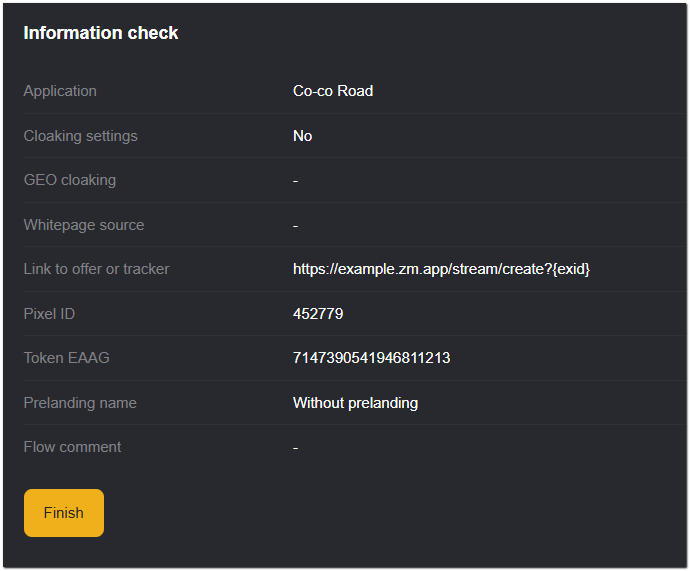
After completing the setup, you will receive the final link for traffic redirection. Copy it for further use.
If you are working with TikTok traffic and using TikTok Pixel, make sure to add ?ttclid=__CLICKID__ as the first parameter in the final URL.
Without it, events will not be properly tracked by the pixel.
Example: https://example708.info?ttclid=__CLICKID__
Done! You've successfully set up your flow. It will now appear in the My Flows section.