Creating a Push Notification
This guide will help you set up a new Push Notification. The notification will appear in the list and be delivered to users according to the settings you define.
1. Choose the type of push notification
- Regular – sent on a schedule.
- One-time – a single notification.
- Event-based – sent after a specific time following a trigger event. You can also set up repeat sends for event-based notifications.

2. Define your audience
Select who will receive the notification:
- Install – users who installed the app.
- Registration – users who registered in the app.
- Deposit – users who made a deposit.
- All users – everyone at the scheduled time.

3. Select a flow or naming
Select how the notification will be delivered. Two options are available:
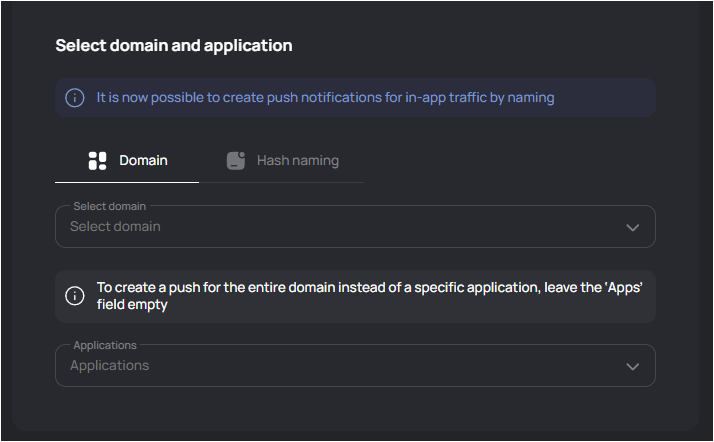
- Domain — specify one or more flows that the notification will be linked to.
- Hash naming — the push will be created for In-app traffic using the selected naming. To use this option, you need to create a naming in advance. Learn more in the Creating a naming section
Select applications
After selecting a domain or Hash naming, specify the applications for which the push will be created.
To create a push for the entire flow or naming, leave the Applications field empty.
4. Set up GEO and time zone
- Audience GEO – select one or more countries. The dropdown will show how many app users are available in each location.
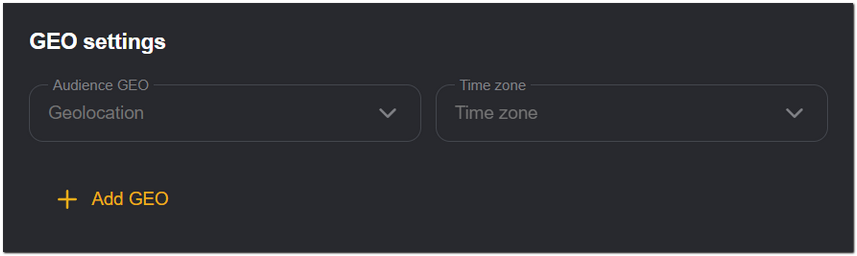
- Time zone – if the GEO includes multiple time zones, select the one you want. Notifications will be sent according to this time zone.

5. Set the delivery time
For regular and one-time notifications
- Set the start date and time. The notification will be sent to users based on the selected GEO time zone.

- Define the duration for regular notifications (default — unlimited).

For event-based notifications
- Set the delay time after the event before the notification is sent.
- Optionally, set how many times it should repeat and the interval between repeats.

On days when custom push notifications are scheduled, system push notifications will not be sent.
6. Set up the notification content
- Enter the title and message text that users will see.
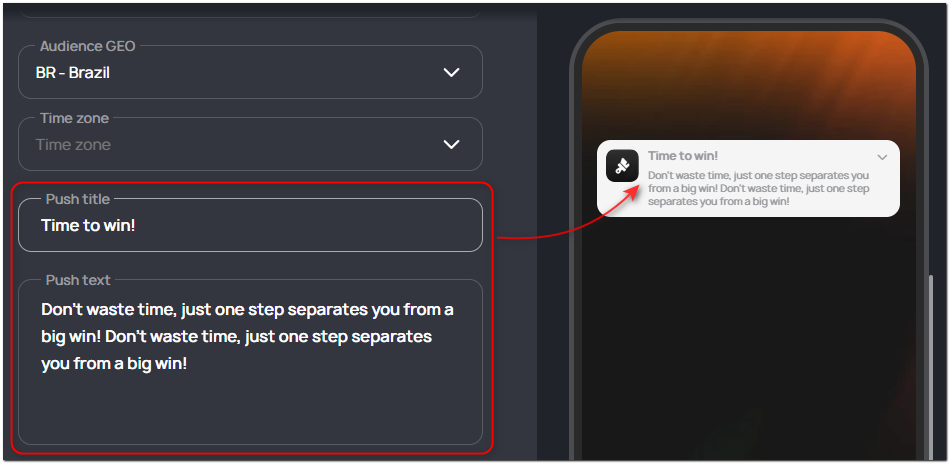
You can enter several text variations. Separate them with the “|” symbol. The system will randomly choose one of them when sending.
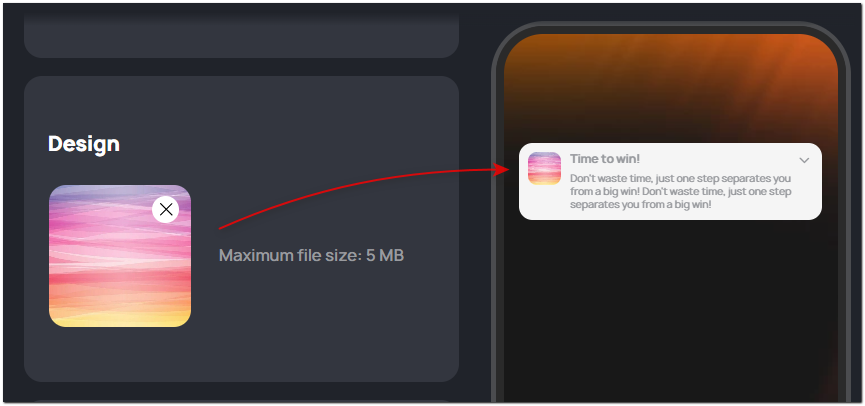
- Choose an image for the notification, or leave the field empty.
7. Confirm your settings
Review everything in the Information check section and click Finish.
Done! You’ve successfully created a Push Notification. It will now appear in the Push section list and be sent to users according to your settings.