Generating a Facebook Pixel and an Access Token
How to Create a Facebook Pixel
- Open Ads Manager and navigate to All tools ➜ Events Manager.
- Click Connect Data Sources in the left sidebar.
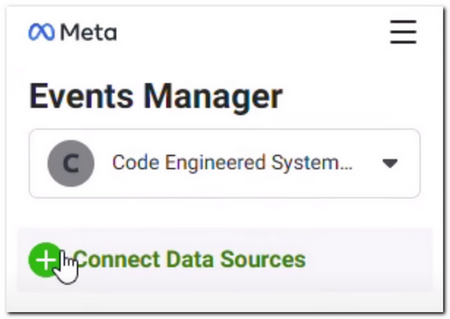
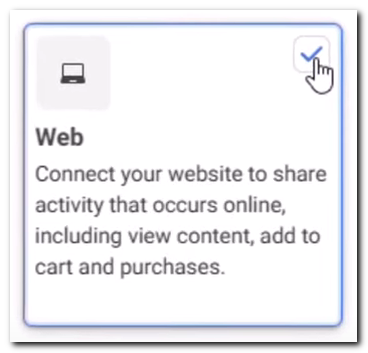
- Select Web from the list of data sources and click Connect.
- Enter a name for your pixel and click Create.
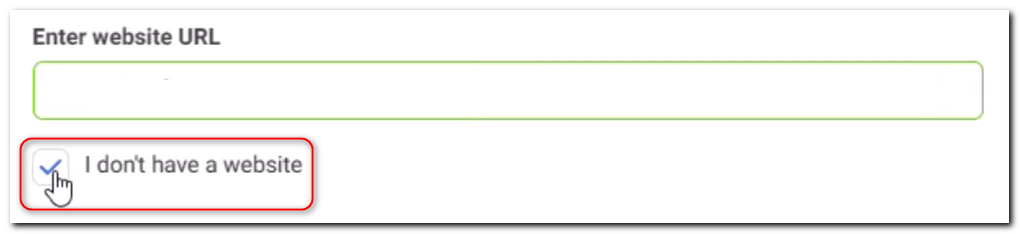
- Choose I don't have a website and click Next.
- Specify the setup method by selecting Do it yourself.

- Choose the connection method Meta Pixel and Conversions API.
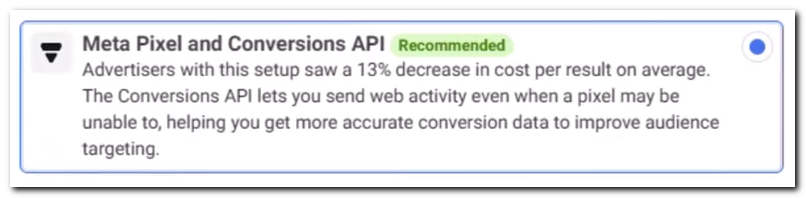
- Select Set up manually.

-
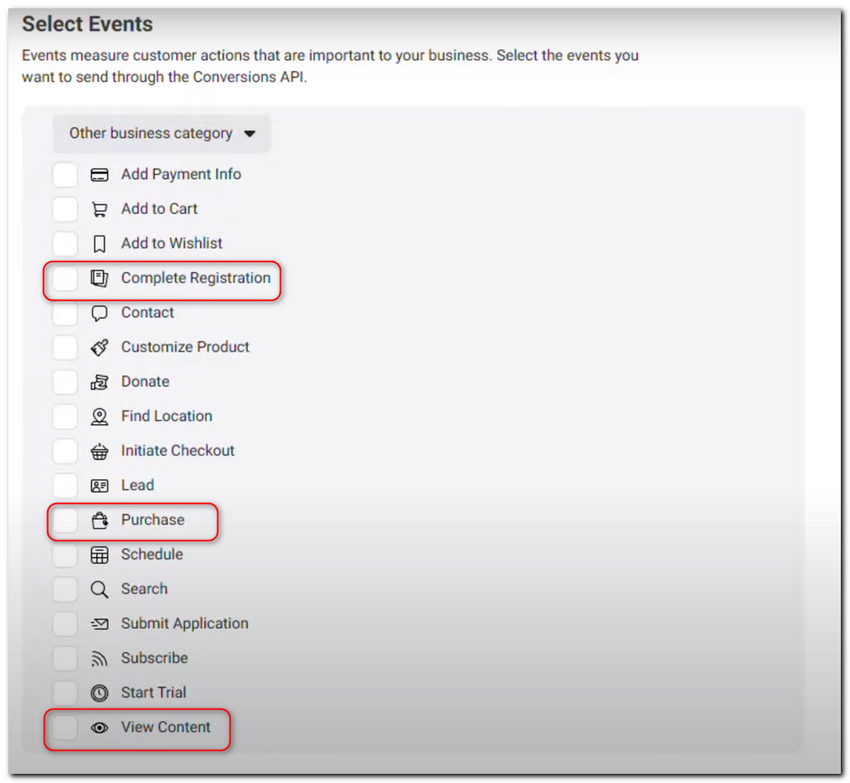
Configure event tracking:
- Choose events: Completed Registration, Purchase and View Content.
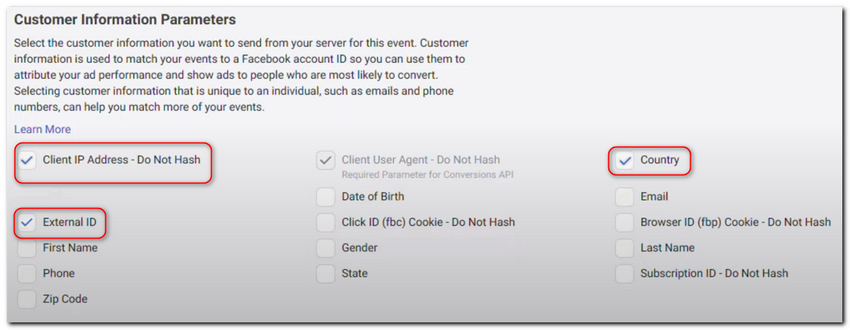
- For each event, specify the parameters: IP, External ID, and Country.
- Complete the setup by clicking Continue ➜ Finish.
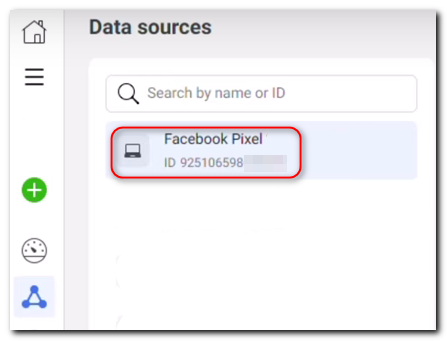
Your Facebook Pixel is now created and ready to use. The Pixel ID is displayed in the upper-left corner in Data sources.
How to Generate Business Manager Access Token via Pixel Settings
- Open Events Manager and select the desired pixel.
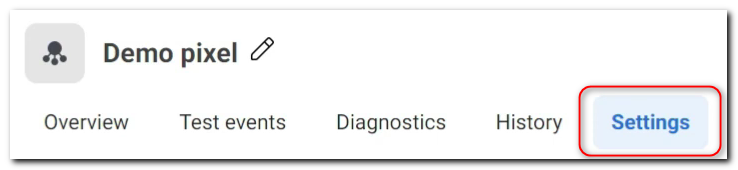
- Navigate to the pixel settings.
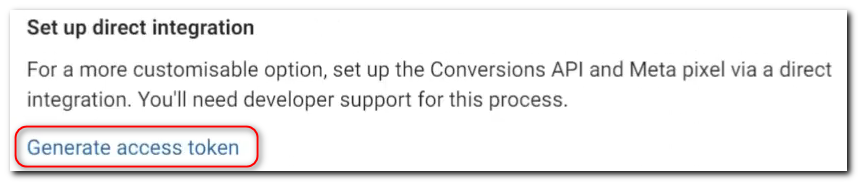
- Scroll down to the Set up direct integration and click Generate access token.
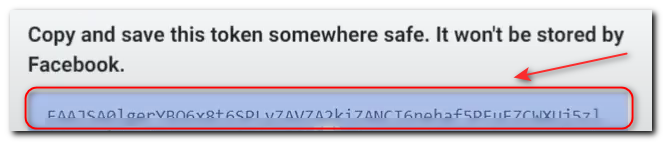
All set! Your Business Manager Access Token has been generated. Make sure to save it for future use.