Flexible Access Management
In addition to standard roles, ZM apps supports flexible permission settings for each team member. This allows you to customize access based on specific responsibilities — for example, giving a media buyer additional permissions for push management or restricting access to certain sections.
- Custom permissions do not replace a user’s role — they extend it.
- Permissions can be configured by the team owner or team lead.
How to Open Access Settings
- Open your dashboard and go to the Team section.
- Find the required team member and click the edit icon in their row.
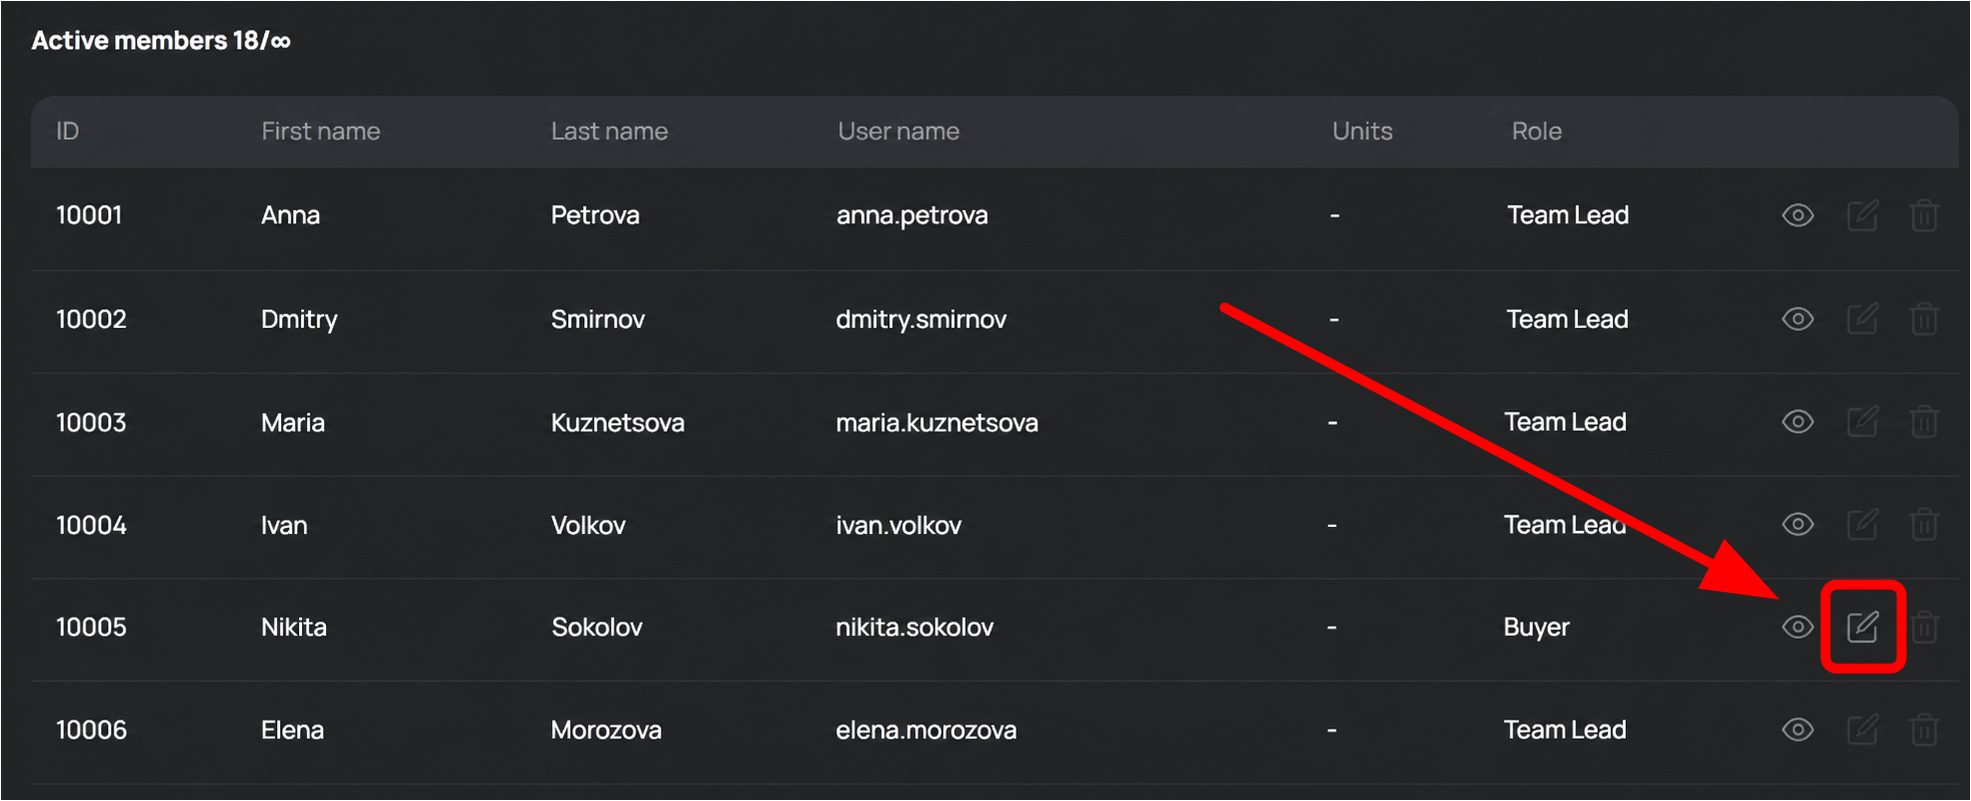
How to Configure Access
- Find the required section and make sure it is enabled with the toggle.
- Select the checkboxes for the actions you want to allow.
- Click Save.
How the Access System Works
Permissions are divided into four levels:
| Setting | Access Granted |
|---|---|
| Checkbox enabled in unit | Access to objects within the user’s unit |
| Checkbox enabled in team | Access to objects across the entire team |
| All checkboxes disabled | Access only to personal objects |
| Section fully disabled | No access to the section and it is hidden from the user |
Take the View checkbox in the Flows section as an example:
- Enabled for the team — the user can see all team flows.
- Enabled only for the unit — the user can see flows only within their unit.
- Disabled everywhere — the user can see only their own flows.
Since team-level access is broader than unit-level access, enabling “In Team” automatically includes access within the unit as well.
Available Settings by Section
User Team
This section controls which team members the user can see and what actions they can perform on other participants. View permissions define the visibility scope — only themselves, their unit, or the entire team. Adding, editing, and removing team members can only be configured at the team level.
Flows, Pixels, Prelanders, PWA, Pushes
All these sections follow the same logic: view, edit, copy, and delete permissions can be configured on three levels — personal objects, unit objects, and team objects. Creating new objects can only be configured at the team level.
Statistics
You can configure visibility for personal statistics only, statistics within the user’s unit, or statistics across the entire team.
Naming
This section controls permissions related to naming management. View permissions work on three levels — personal objects, unit objects, or team objects. Creating new naming entries can only be configured at the team level.
User Unit
This section controls permissions related to units. If a checkbox is enabled at the unit level, the user can view and edit only their own unit. If enabled at the team level, the user can manage any team unit. Creating and deleting units can only be configured at the team level.
Team Wallet
This section is available only under the In Team tab and allows the user to select the team wallet as the payment source for ZM apps services.
Summary Table of Available Permissions by Section
| Section | Create | View | Edit | Copy | Delete |
|---|---|---|---|---|---|
| User Team | — | Available | Team only | — | Team only |
| Flows, Pixels, Prelanders, PWA, Pushes | Team only | Available | Available | Available | Available |
| Statistics | — | Available | — | — | — |
| Naming | Team only | Available | — | — | — |
| User Unit | Team only | Available | Available | — | Team only |
| Team Wallet | — | — | Team only | — | — |
Reset to the Default Role
To restore the default permissions for a user’s role, change the role to any other role and then switch it back. All custom permission settings will be reset to the default values.